Nerf Game Report 17/7/16: Melbourne League of Foam
July 25, 2016MLF is becoming more and more saturated with flywheelers, and there are fewer and fewer springers and airblasters that see use. Nevertheless, we were able to have a lot of good games. We also switched play area half way, which helped to add a bit of diversity to the day. In this Nerf Game Report, I’ll go through the main blasters that saw use, the gametypes we played, and how the two play areas affected our games.
Gamemodes:
Old:
- Kill Confirmed – very similar to Freeze Tag/Tag Teams. When a player is hit, they are downed and must wait for a teammate to revive them, which is achieved with a simple hand tag. In Kill Confirmed, all players are medics. An opposing player may tag a downed player with their hand to “confirm the kill” and eliminate them from the game. Naturally if an entire team is downed, then that team loses even if none of them are “confirmed”. The last team with surviving, non-downed players wins.
- VIP – one player from each team is designated as the VIP of that team (the teams do not need to tell other teams who their designated VIP is). If the VIP is downed, their team can no longer respawn (but can still be revived by their medic). The VIP must call out when they are downed, and cannot be revived by the medic. One player is designated as the medic of the team (likewise whose identity does not need to be publicly shared). The last team with surviving players wins.
- NEW RULE: The VIP is not permitted within or behind ~5 metres in front of spawn.
- Capture the Flag (CTF) – classic gamemode, steal the enemy’s flag and return it to your flag at your base to win. Drop the flag if downed while holding it. If the flag is picked up, the player cannot put it down unless they are downed. The flags are not allowed within or behind ~5 metres in front of spawn.
New:
- None
Blasters:
Since there were a lot of different blasters there, I’ve generalised them and only listed down the ones that I saw as significant or noteworthy (or remember, for that matter). Being that I can’t be everywhere at once, it’s entirely possible I completely missed some blasters.
Recurring/Regular:
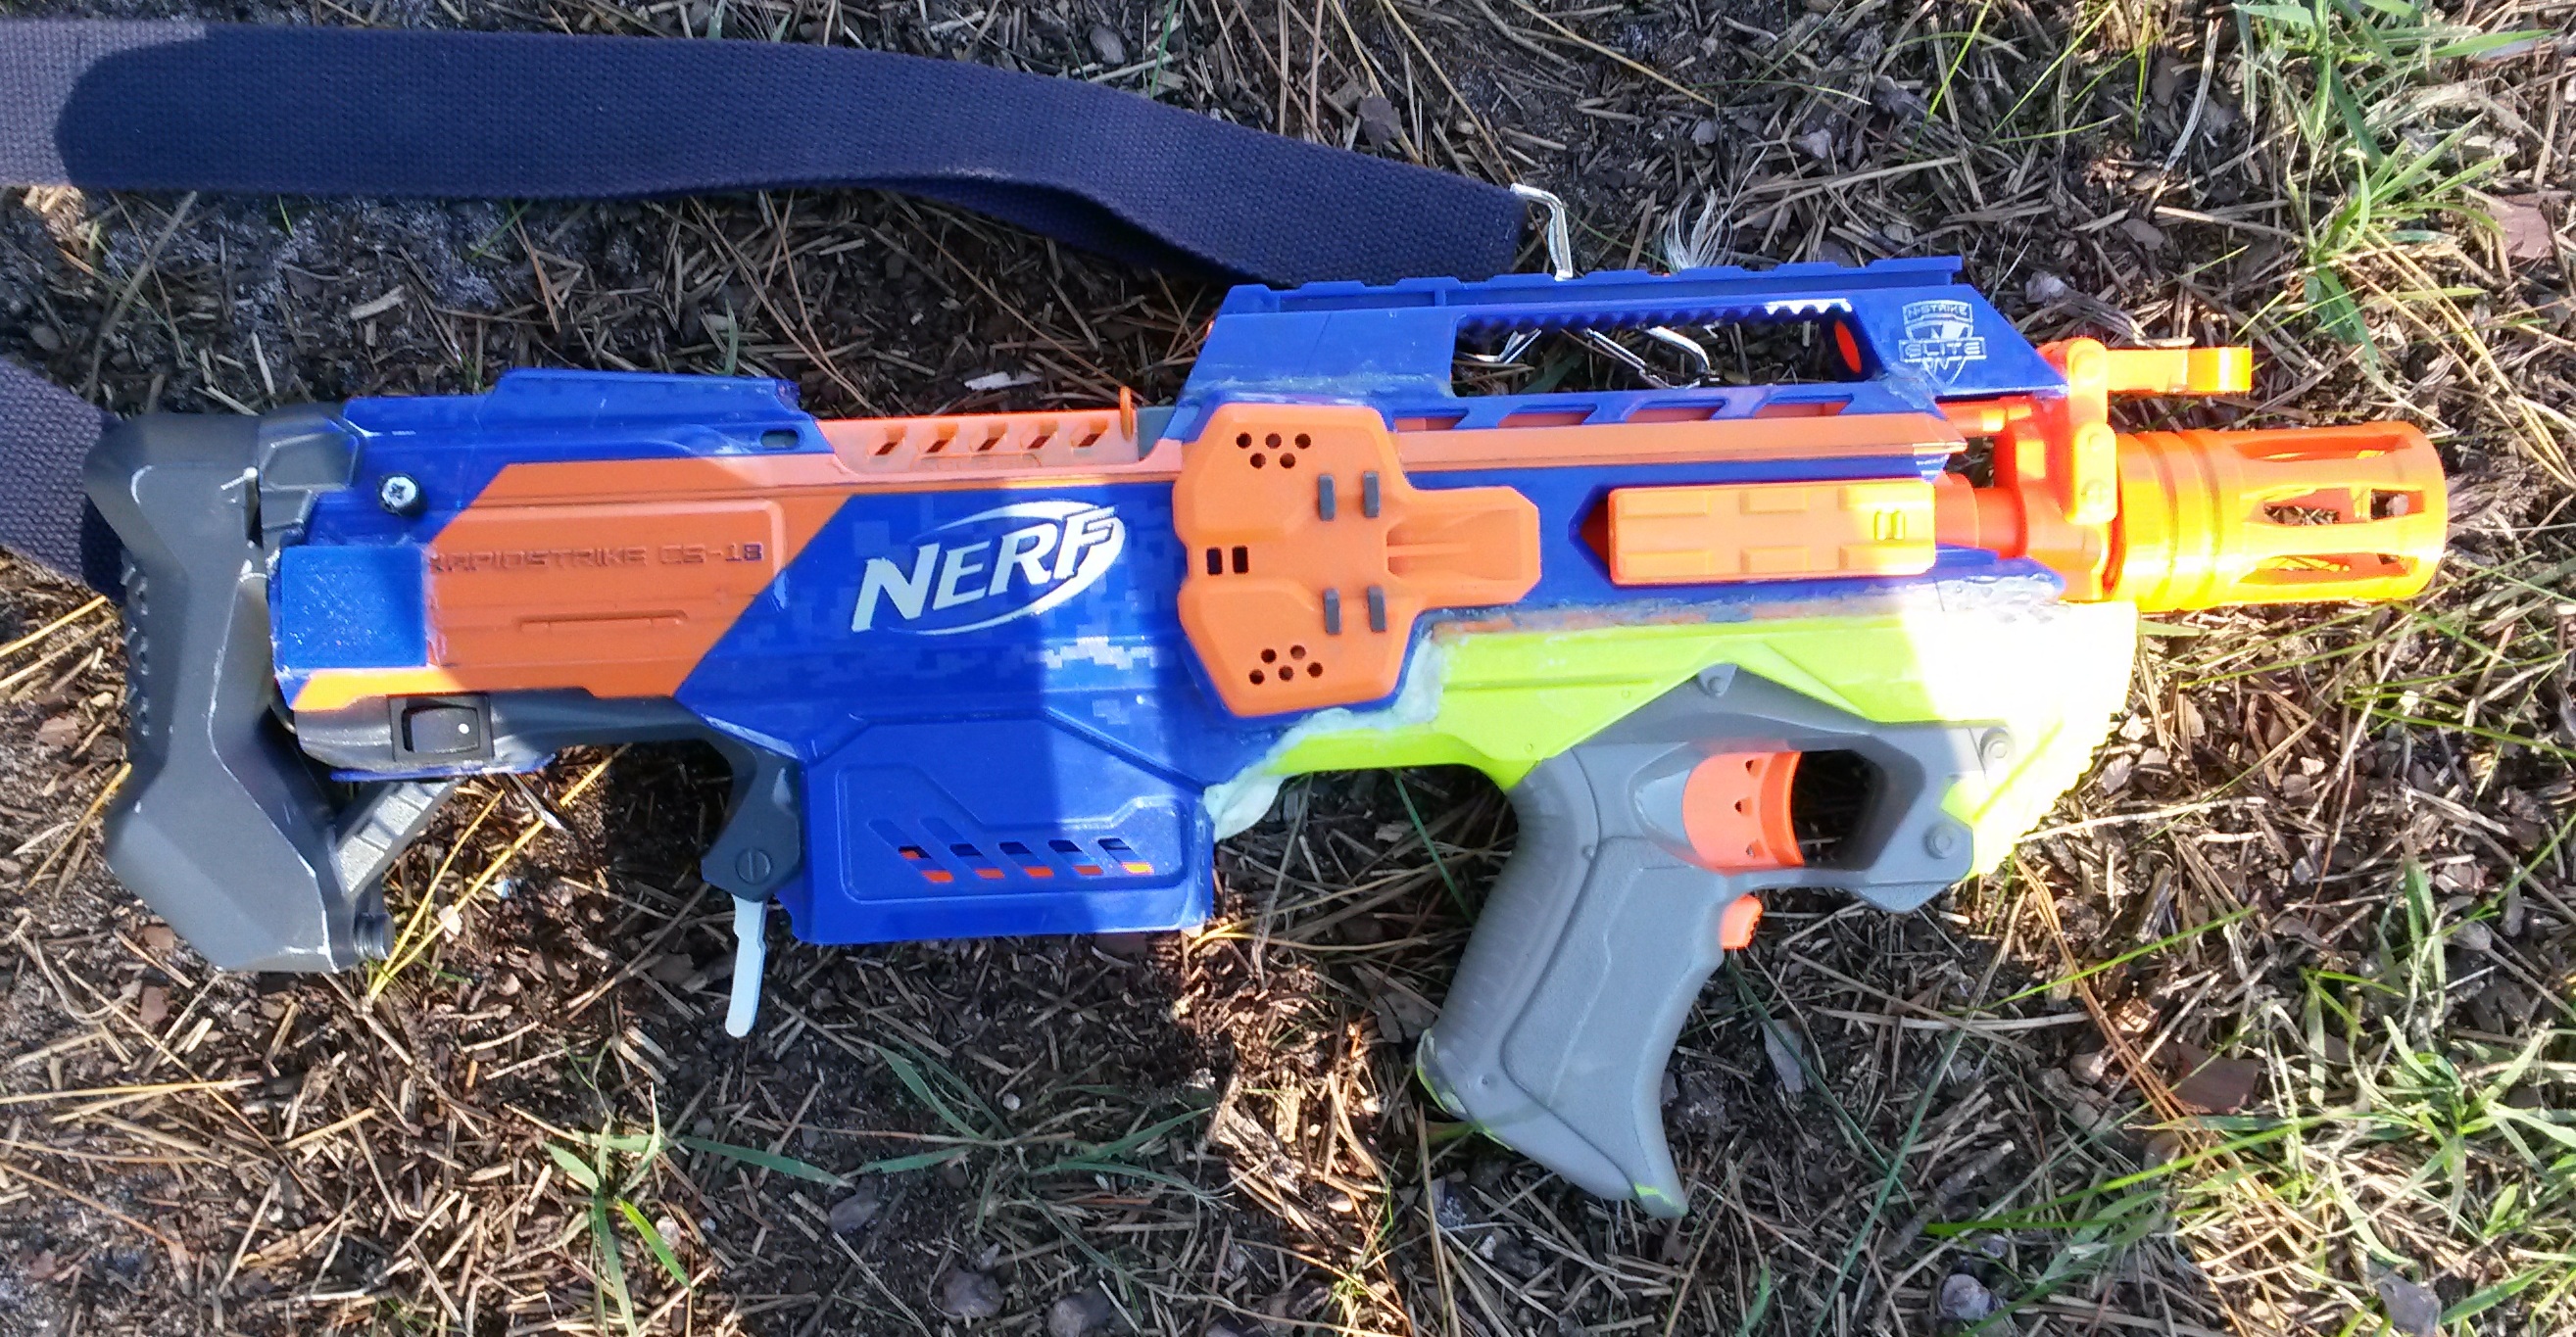


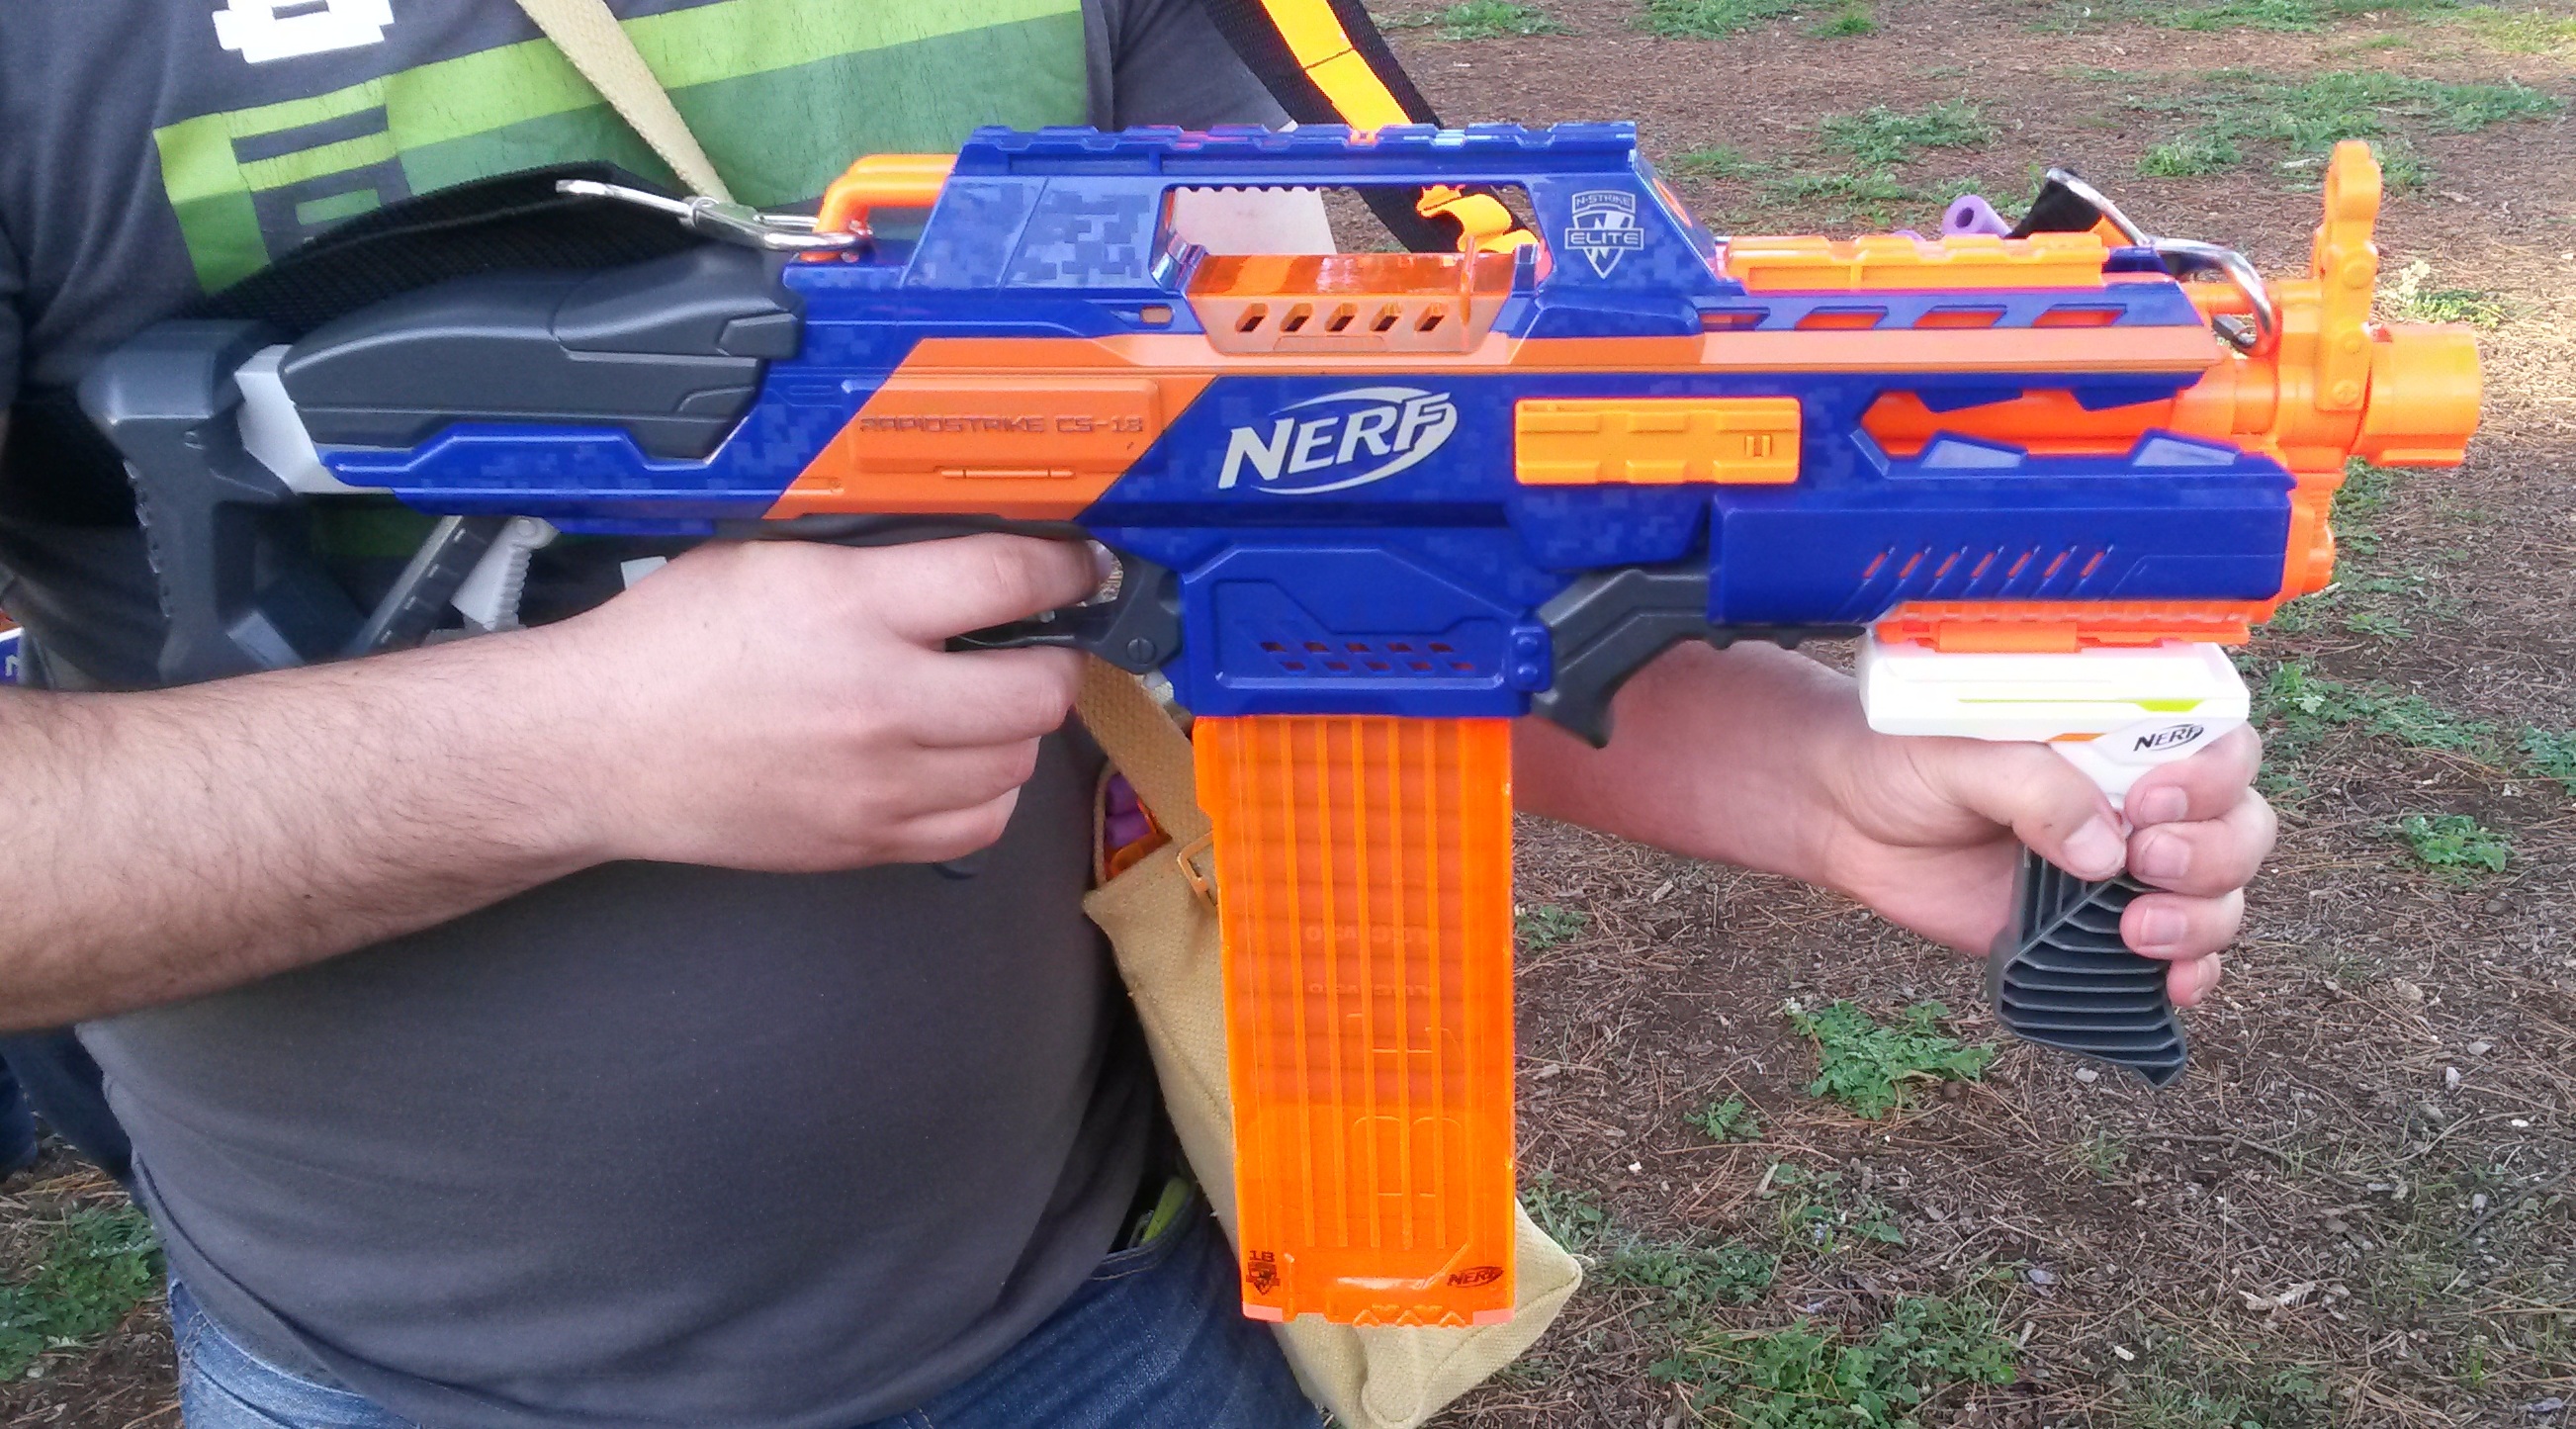
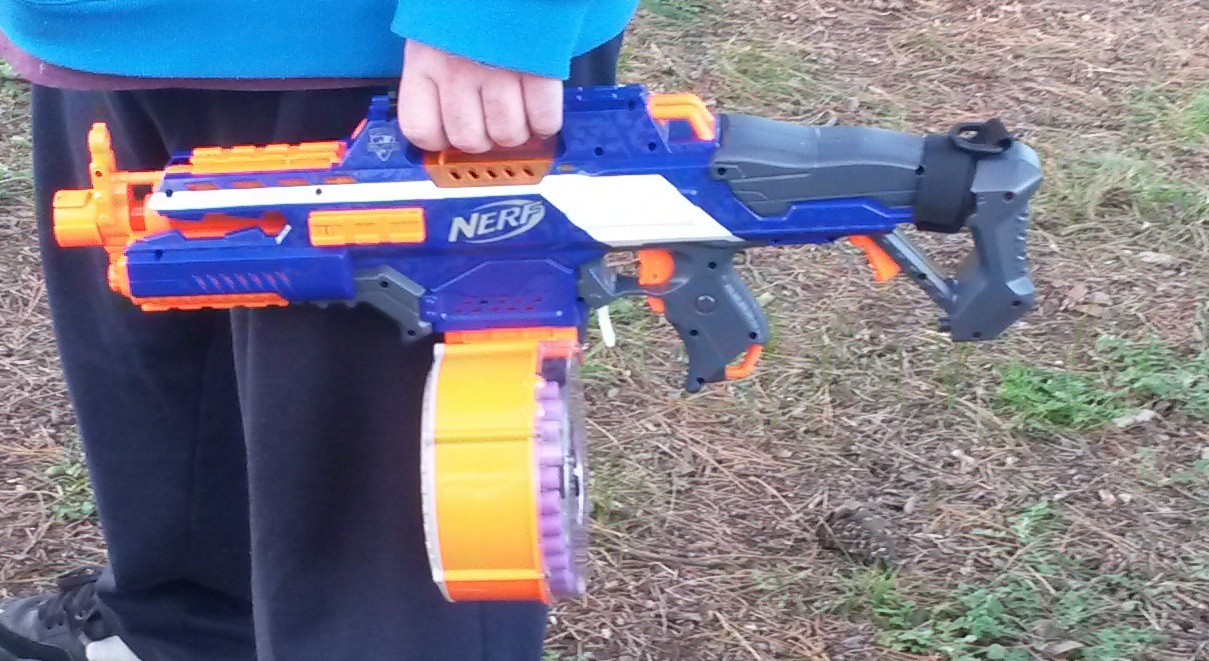
Elite Rapidstrike (various LiPos, motors) – performed as per usual. Typically have a high ROF that makes them excel for suppression, area denial, engaging groups of enemies and accuracy by volume. A lot of experience and practice is necessary to build up the necessary trigger discipline and reloading technique necessary to get the most out of them.


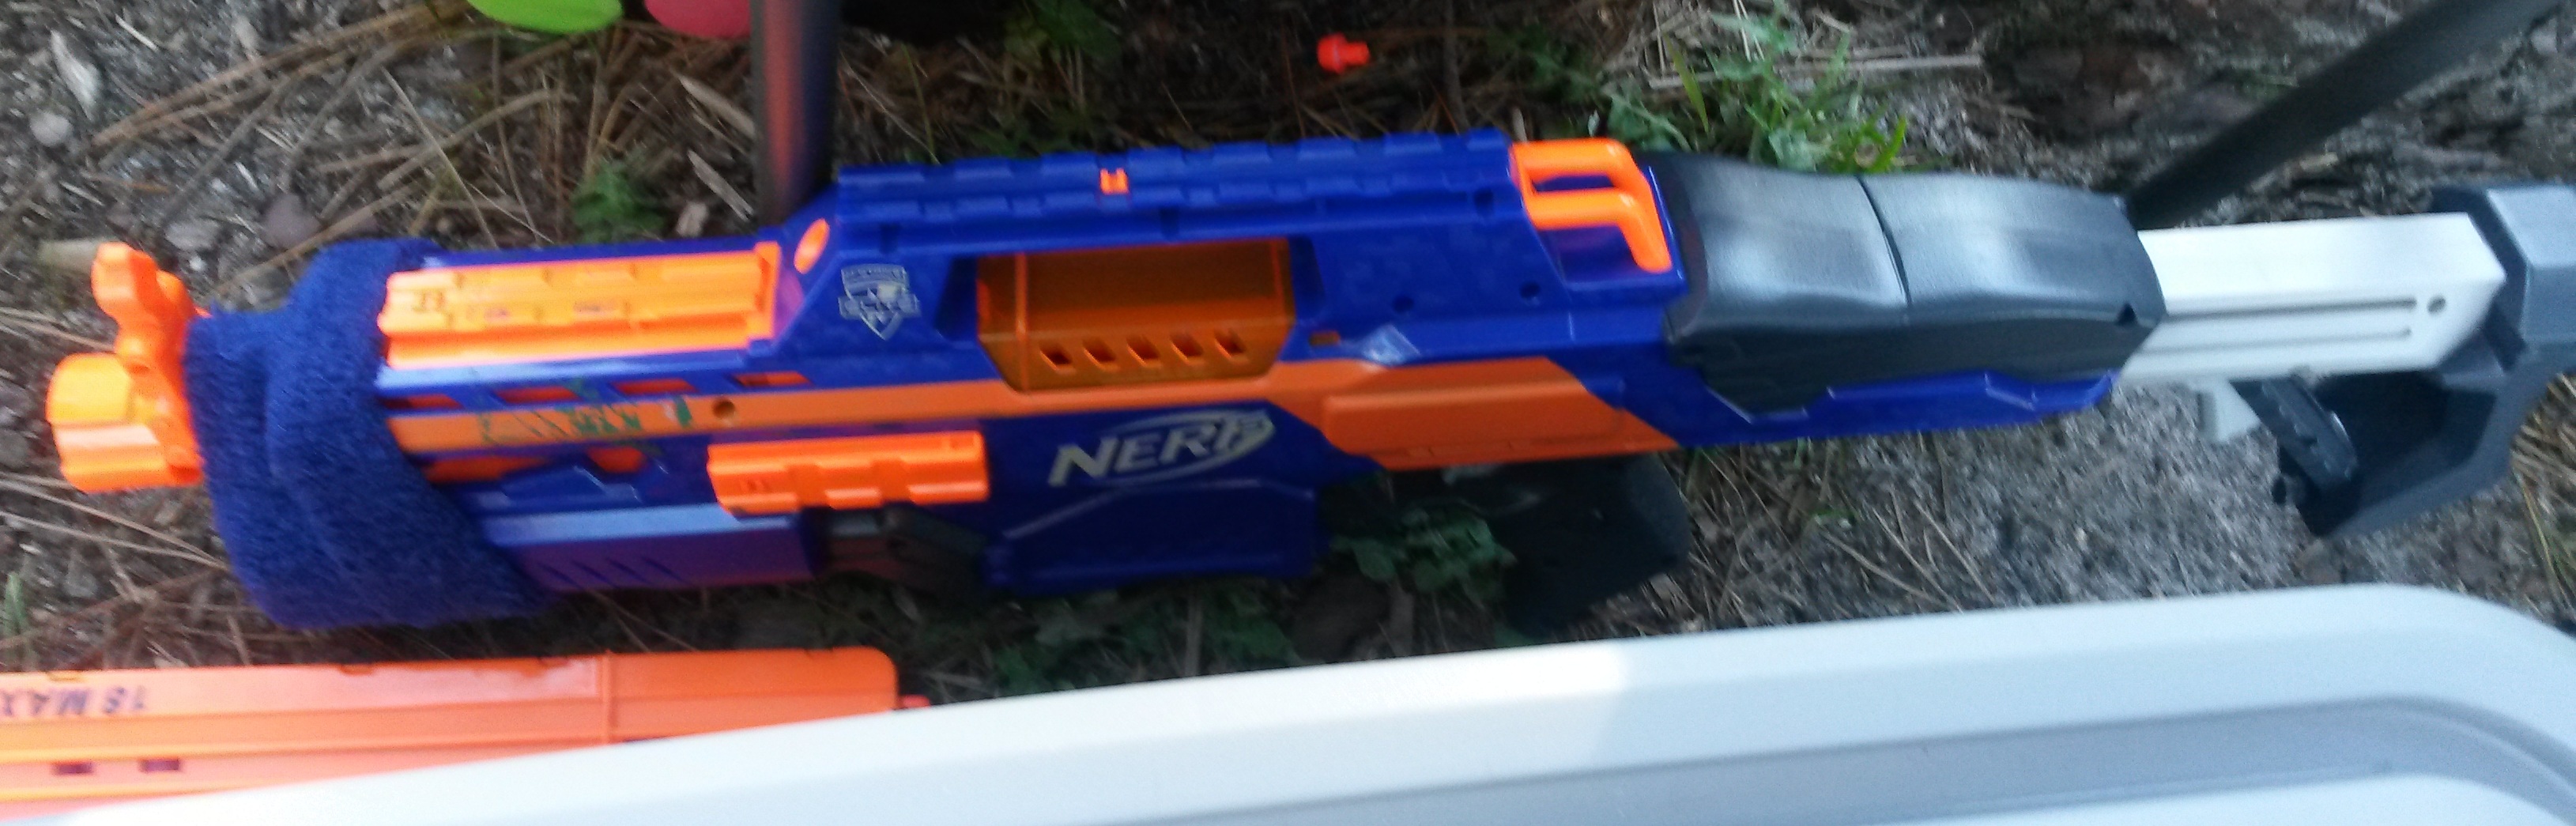
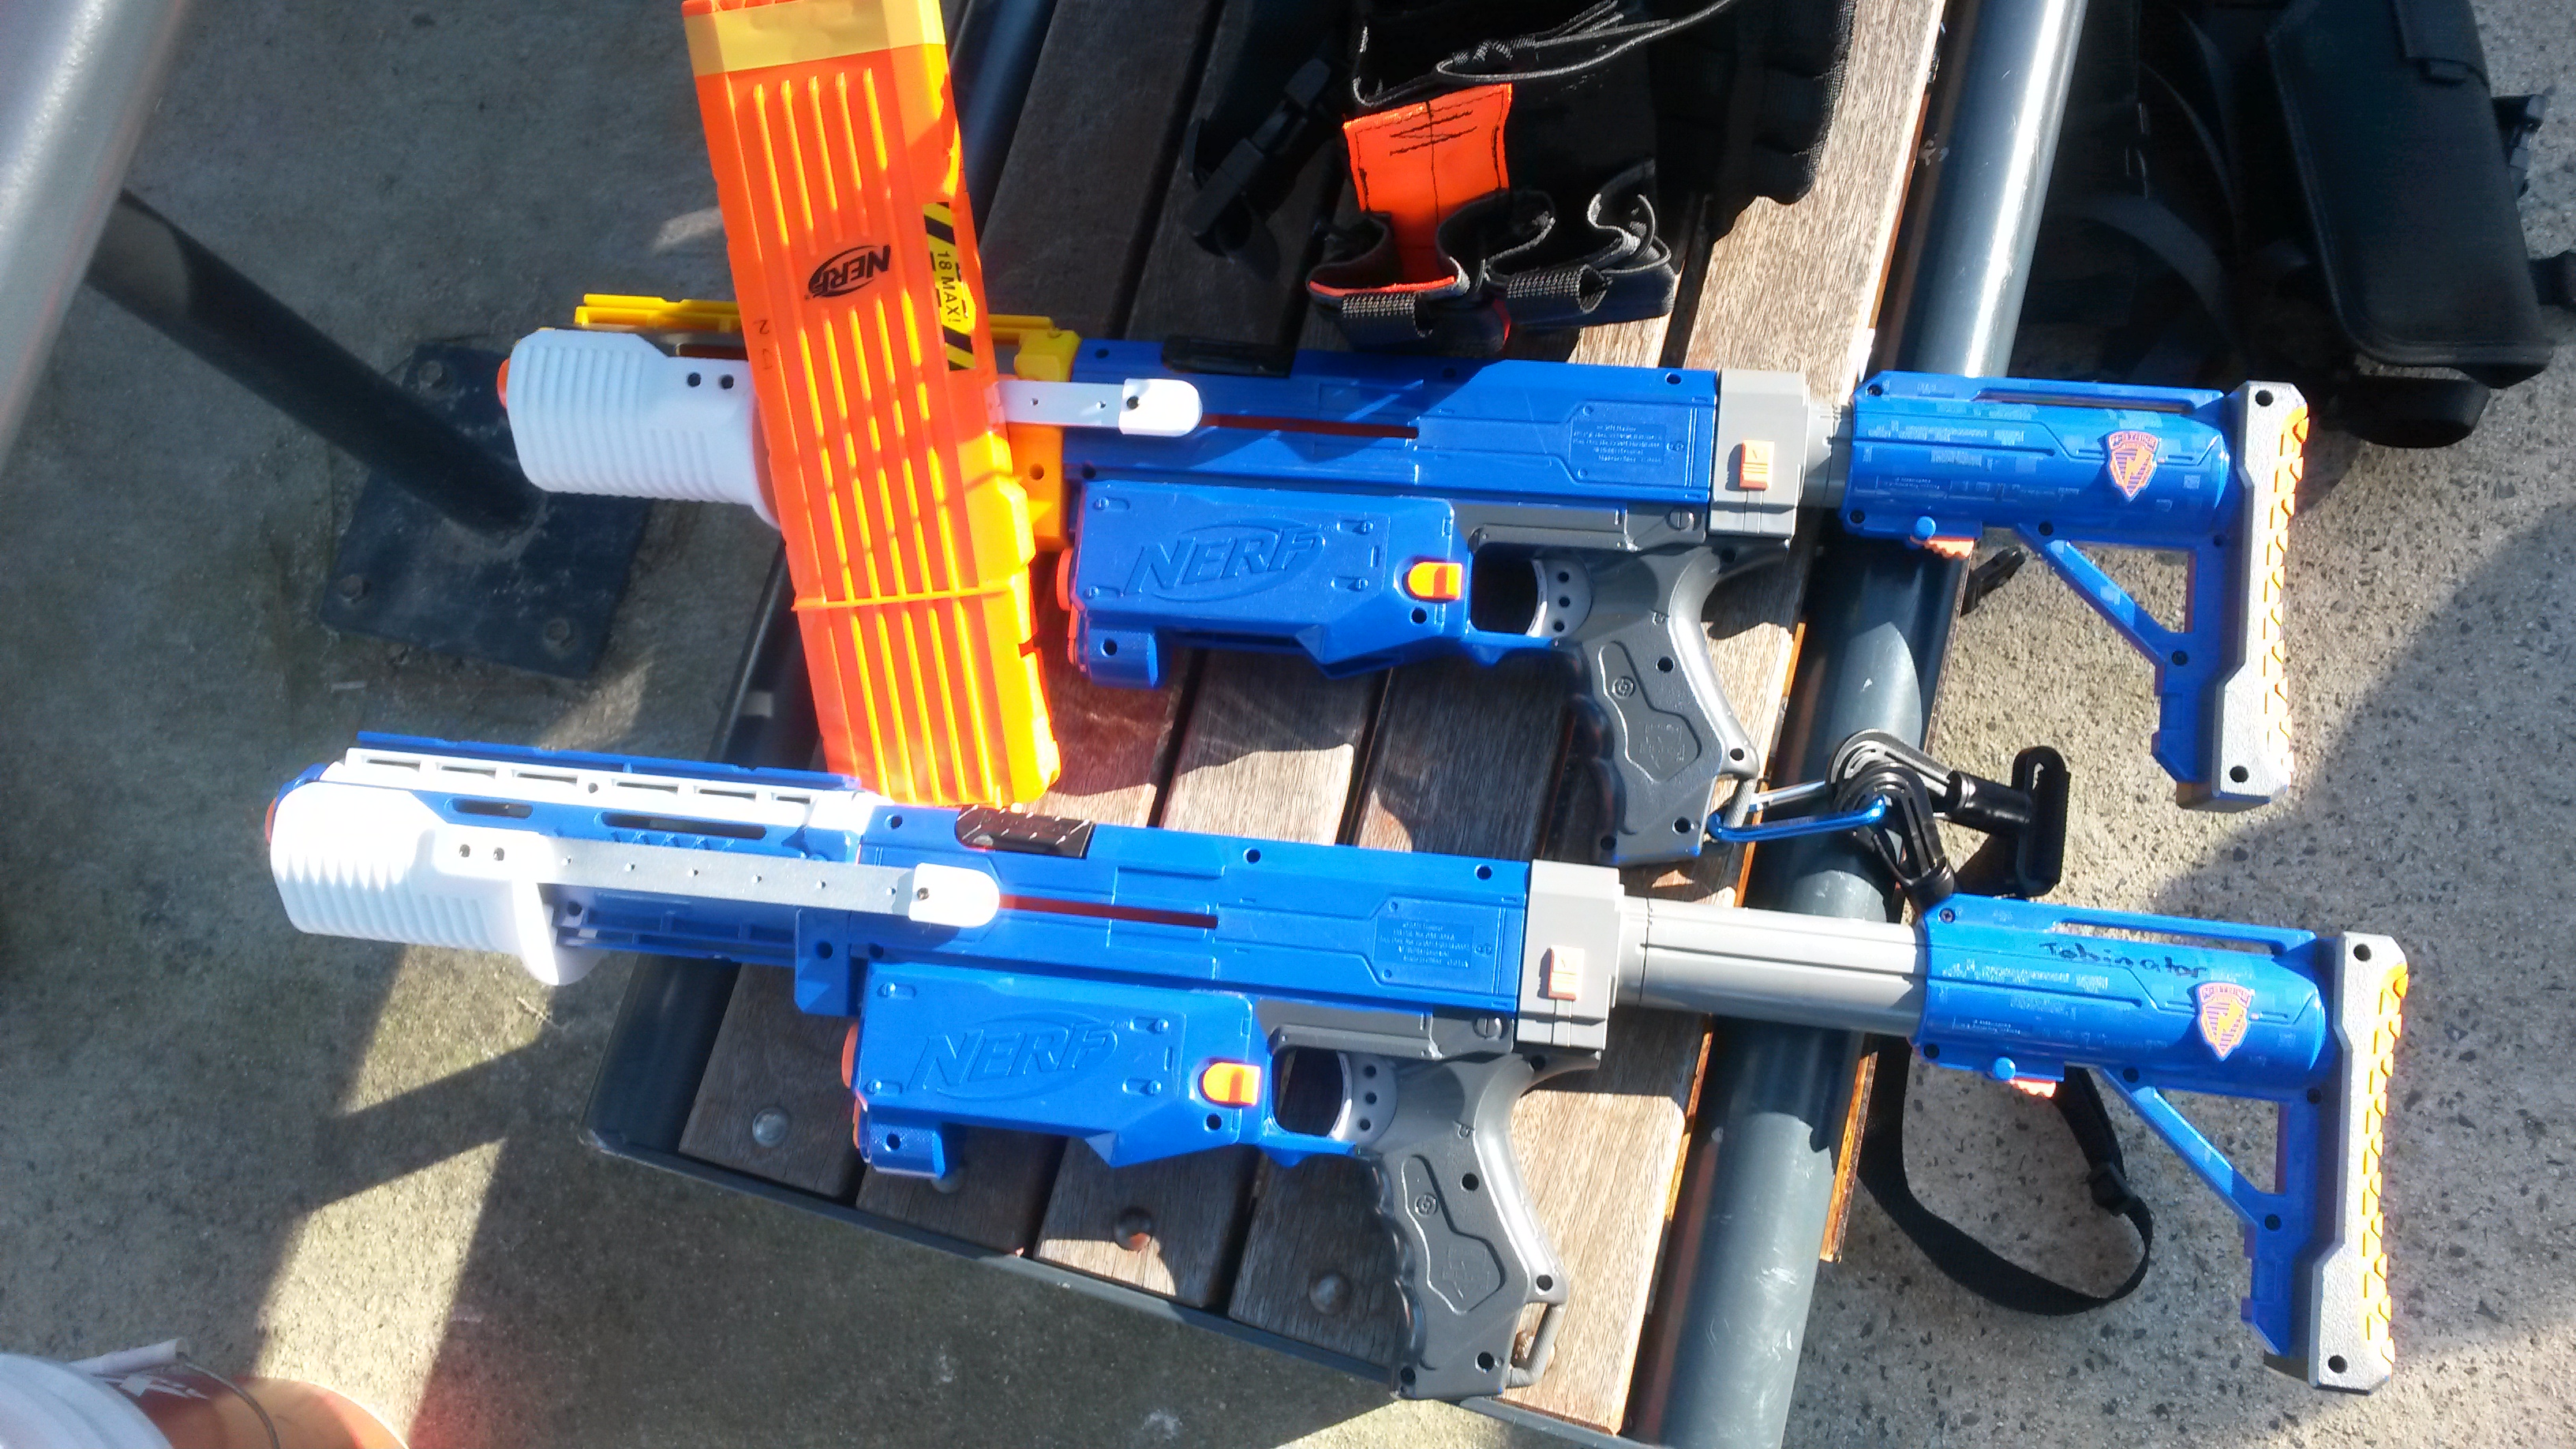
N-Strike Longshot (various pump grips, upgraded internals) – performed as per usual, high power blasters that could match or exceed the ranges of standard flywheelers. Excellent for cover/suppressive fire at mid range, but the low ROF makes them quite vulnerable at close range. Also rather bulky compared to most other blasters.
 Elite Retaliator (various pump grips, upgrade springs) – same as usual, solid all round pump action springers. Generally weaker (or as powerful as) and slower firing compared to flywheelers, but quite well rounded for a springer.
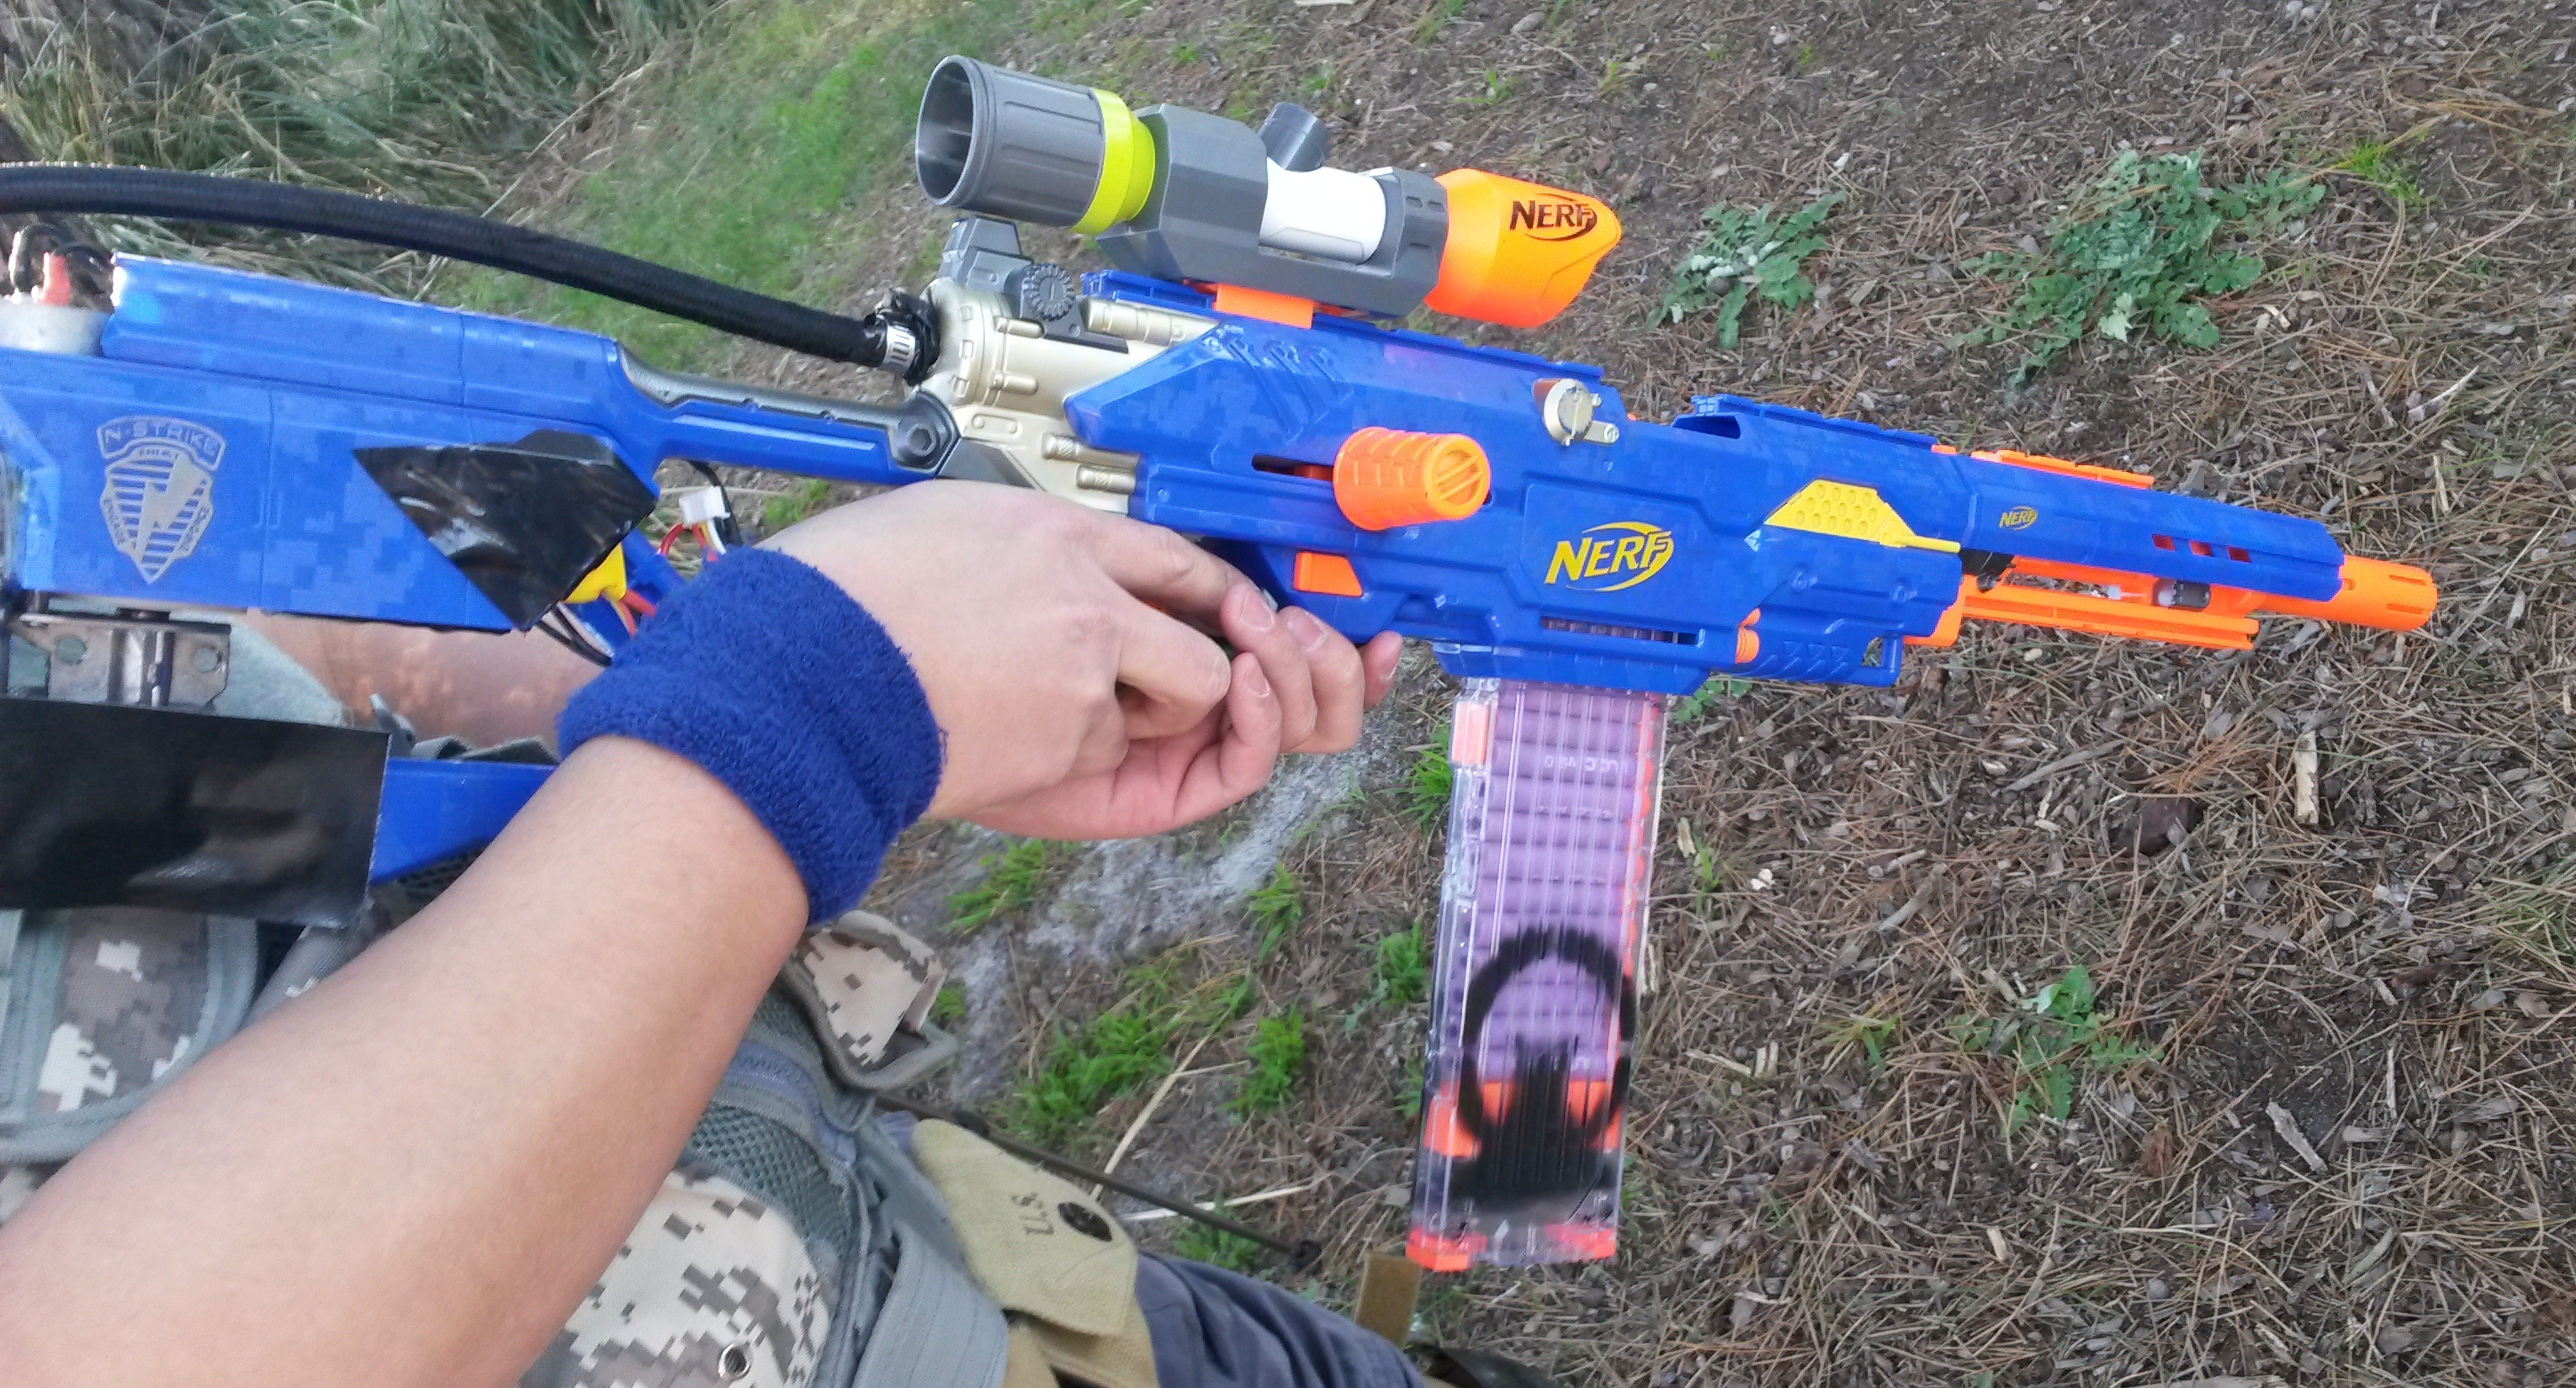 N-Strike Longstrike (XBZ tank, air compressor) – same very high power blaster with extremely slow ROF. Capable of potshots from well beyond the range of any other blaster. Very slow firing sequence makes it quite difficult to use in mid range, and practically worthless in close range. Takes a lot of skill to use effectively and safely.
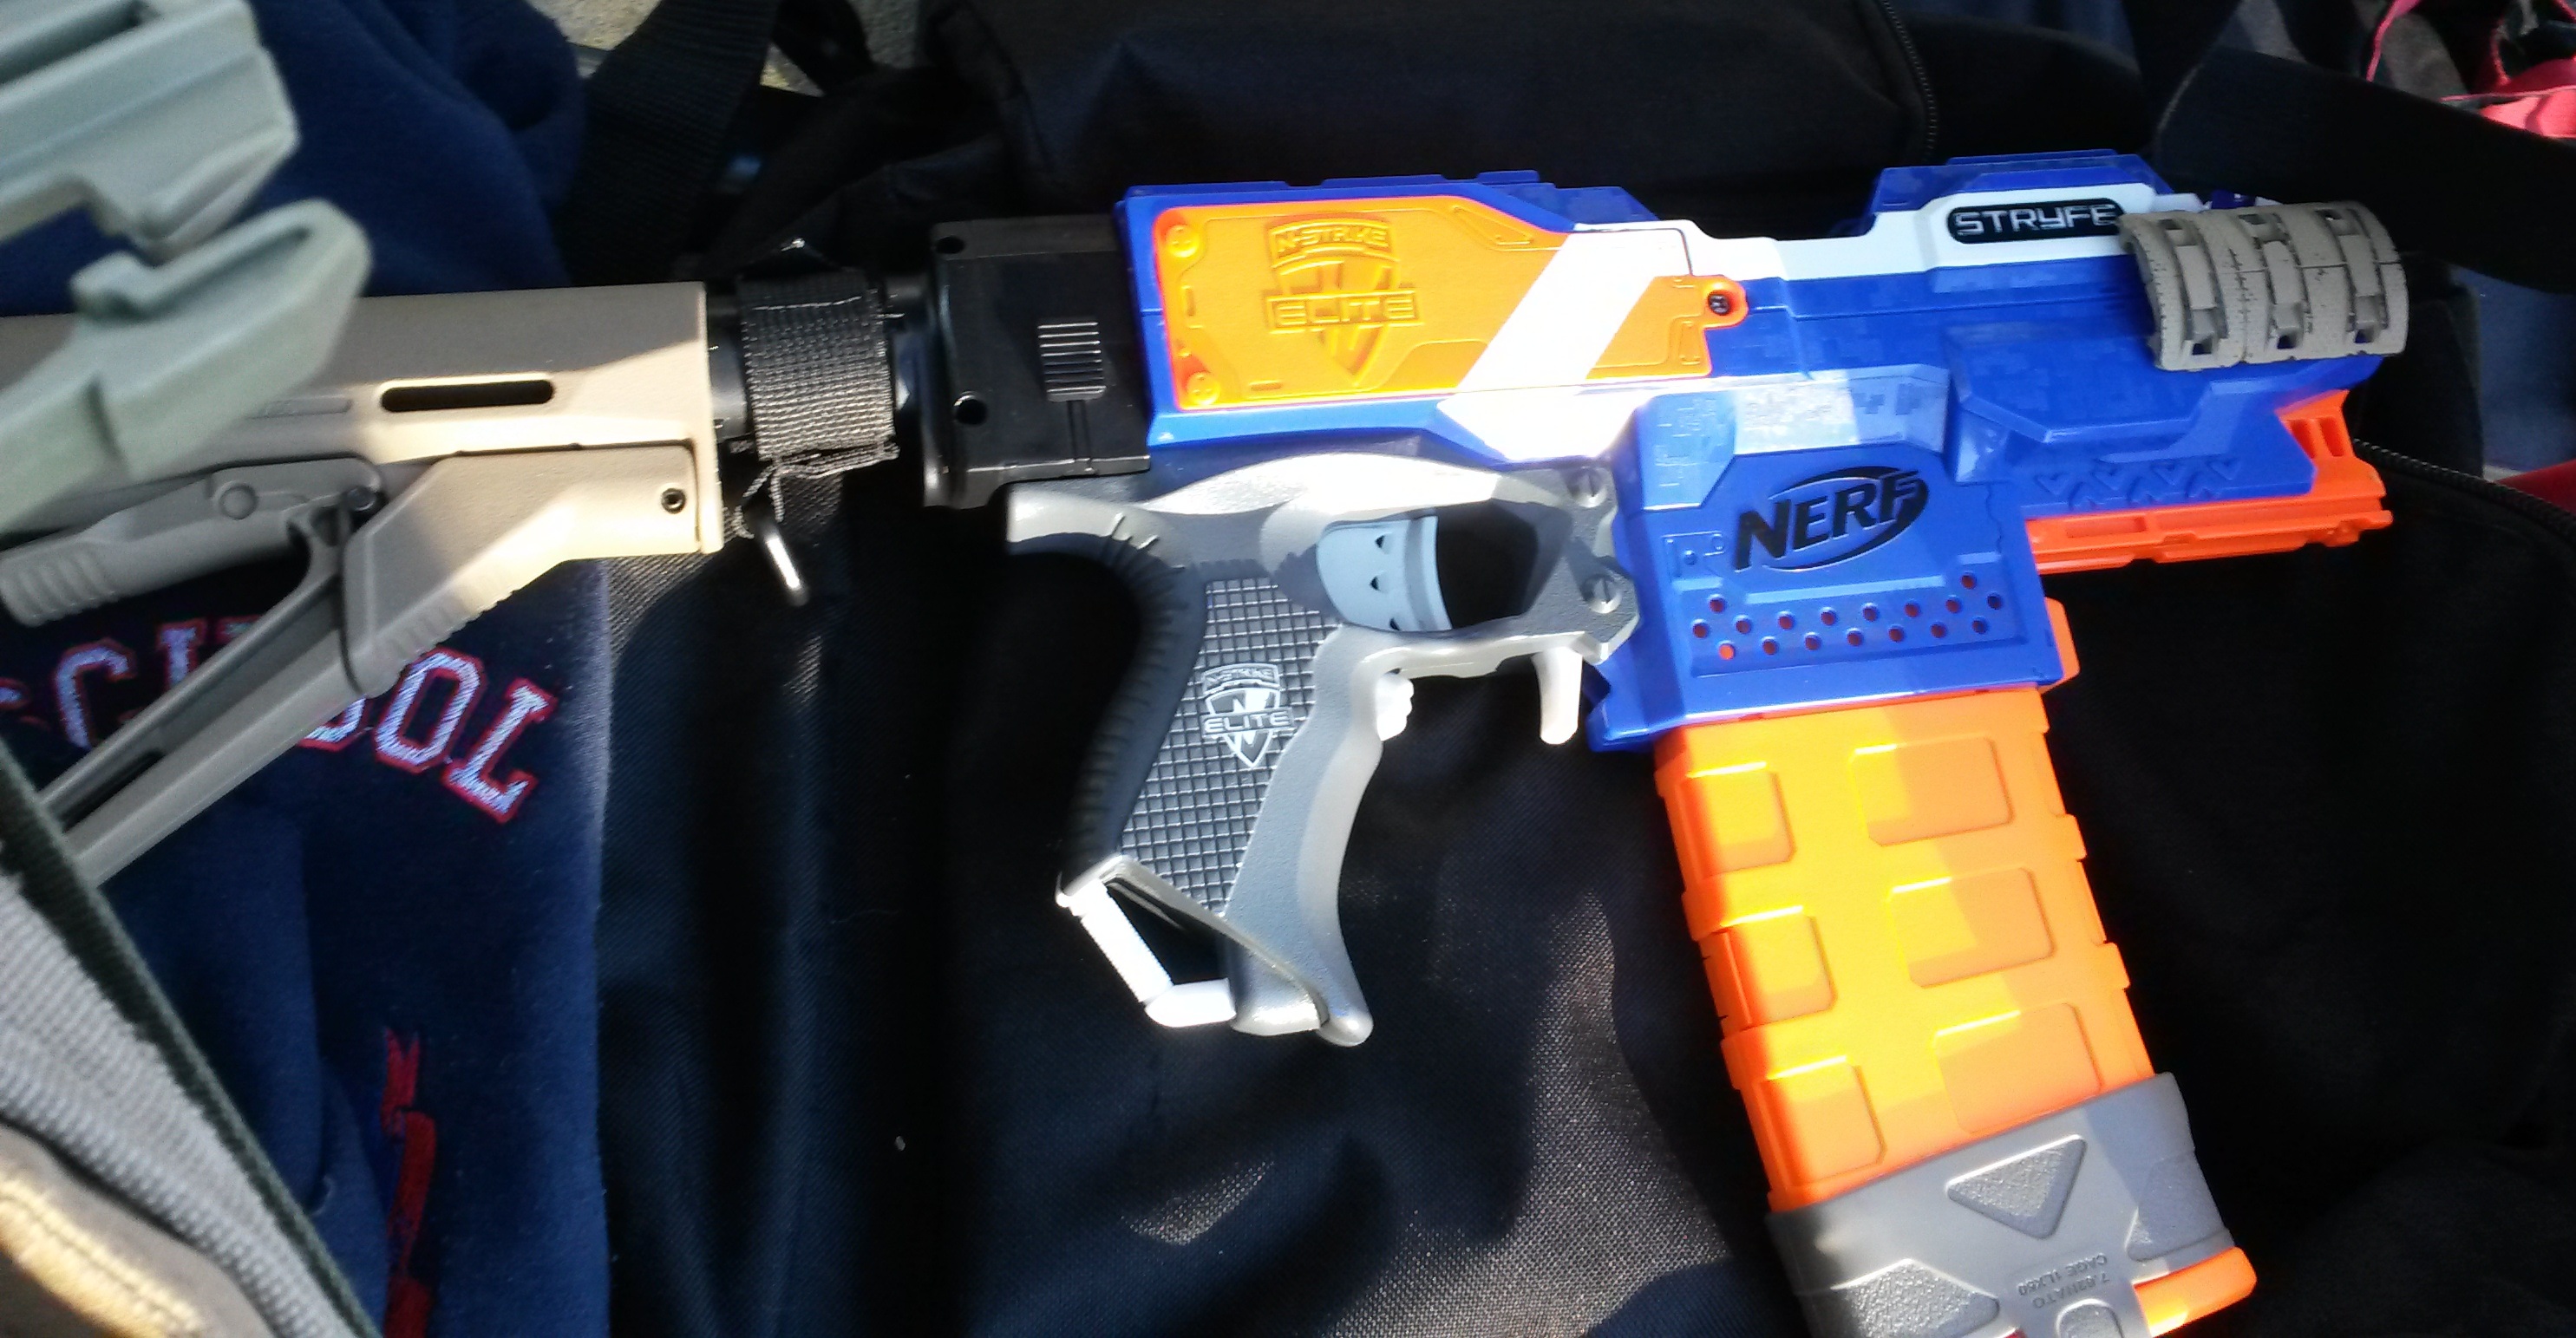
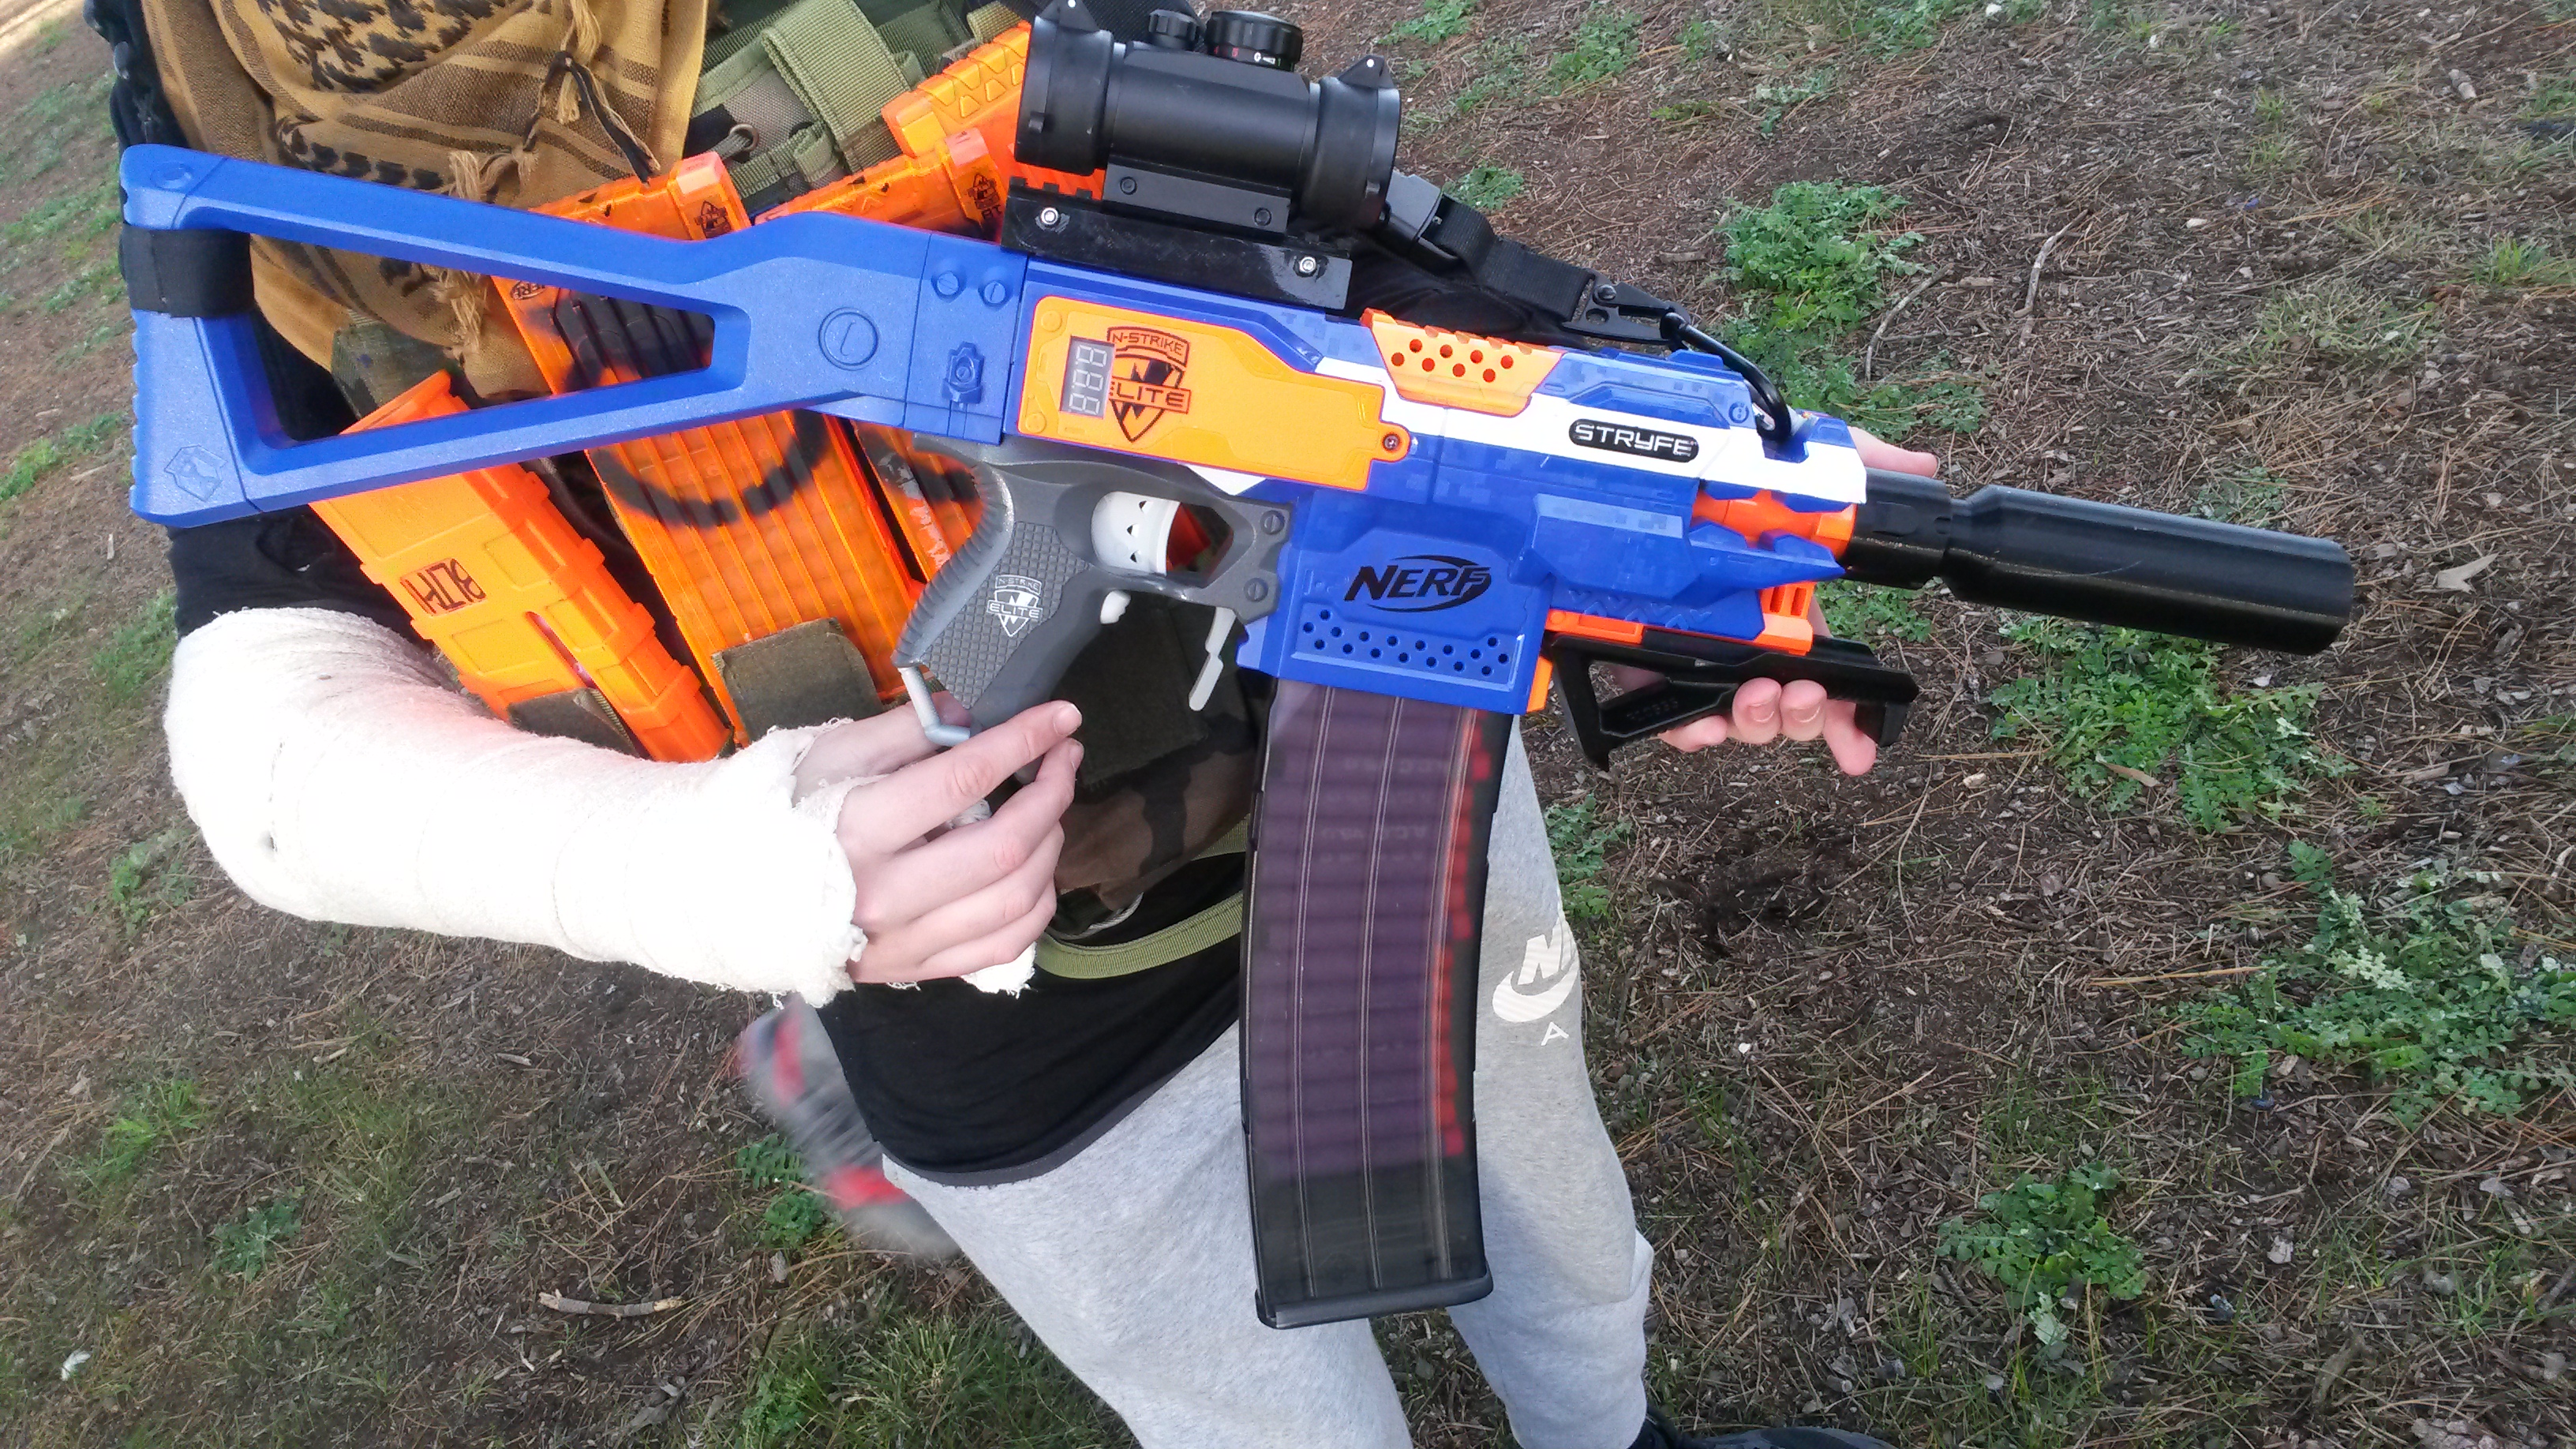
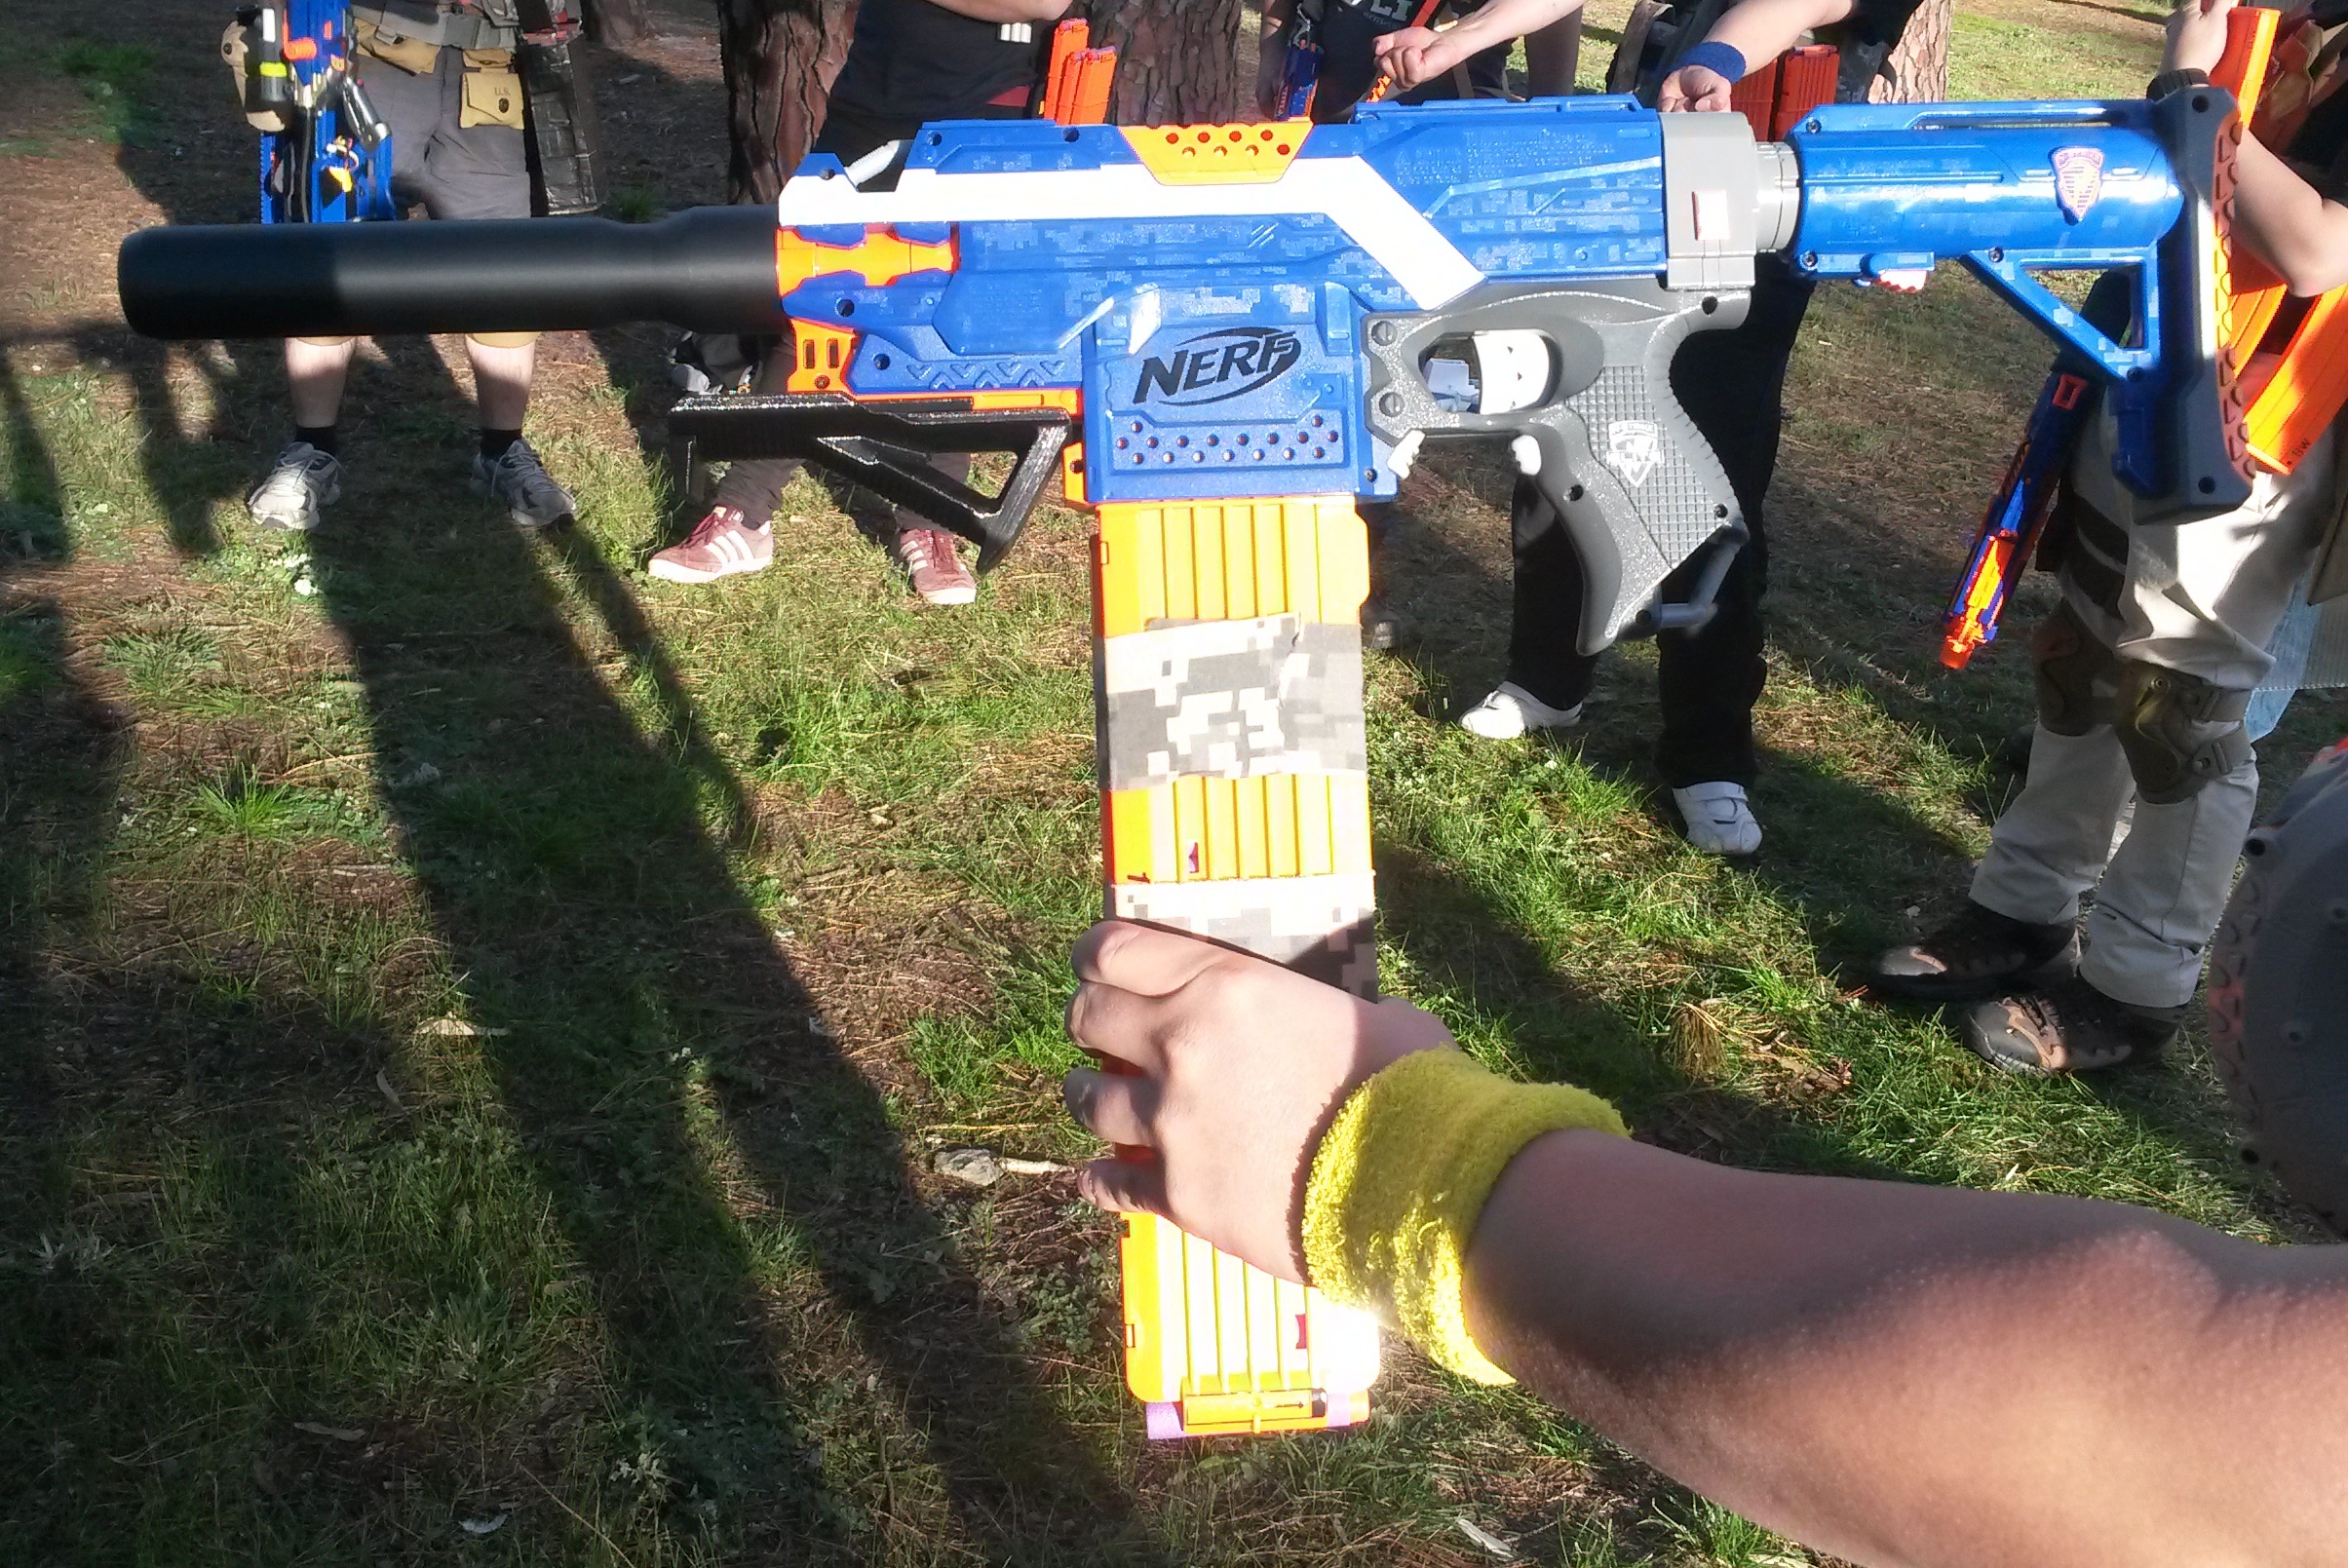
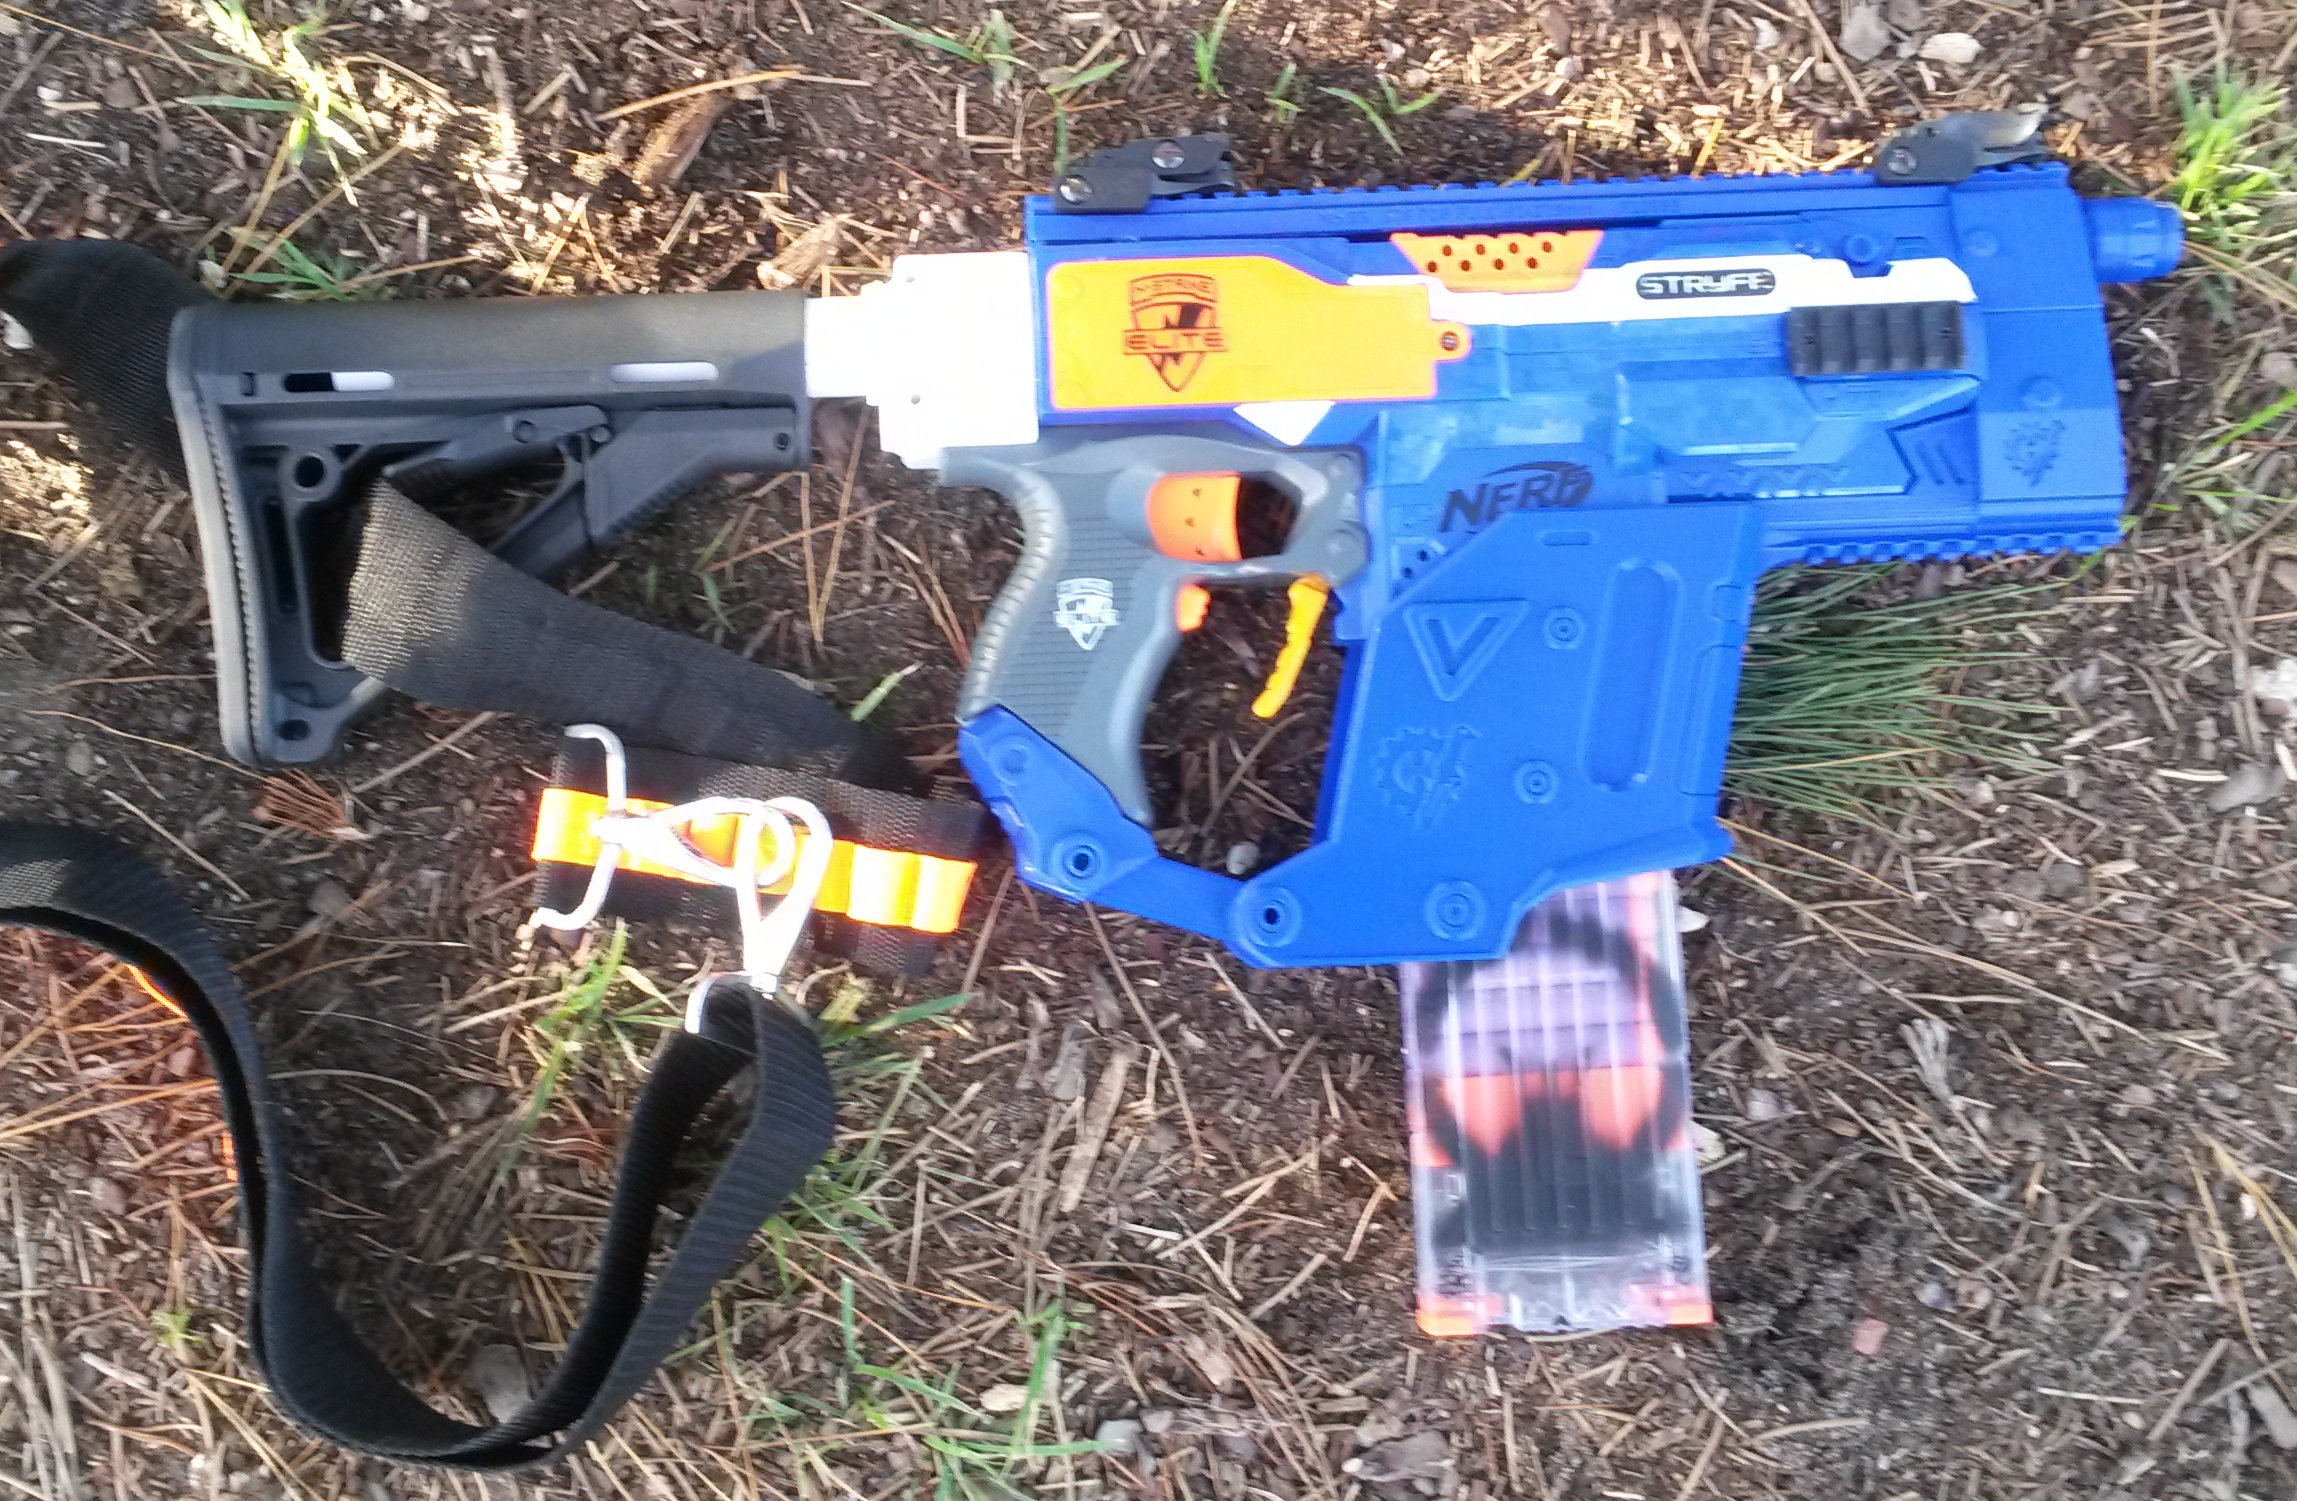
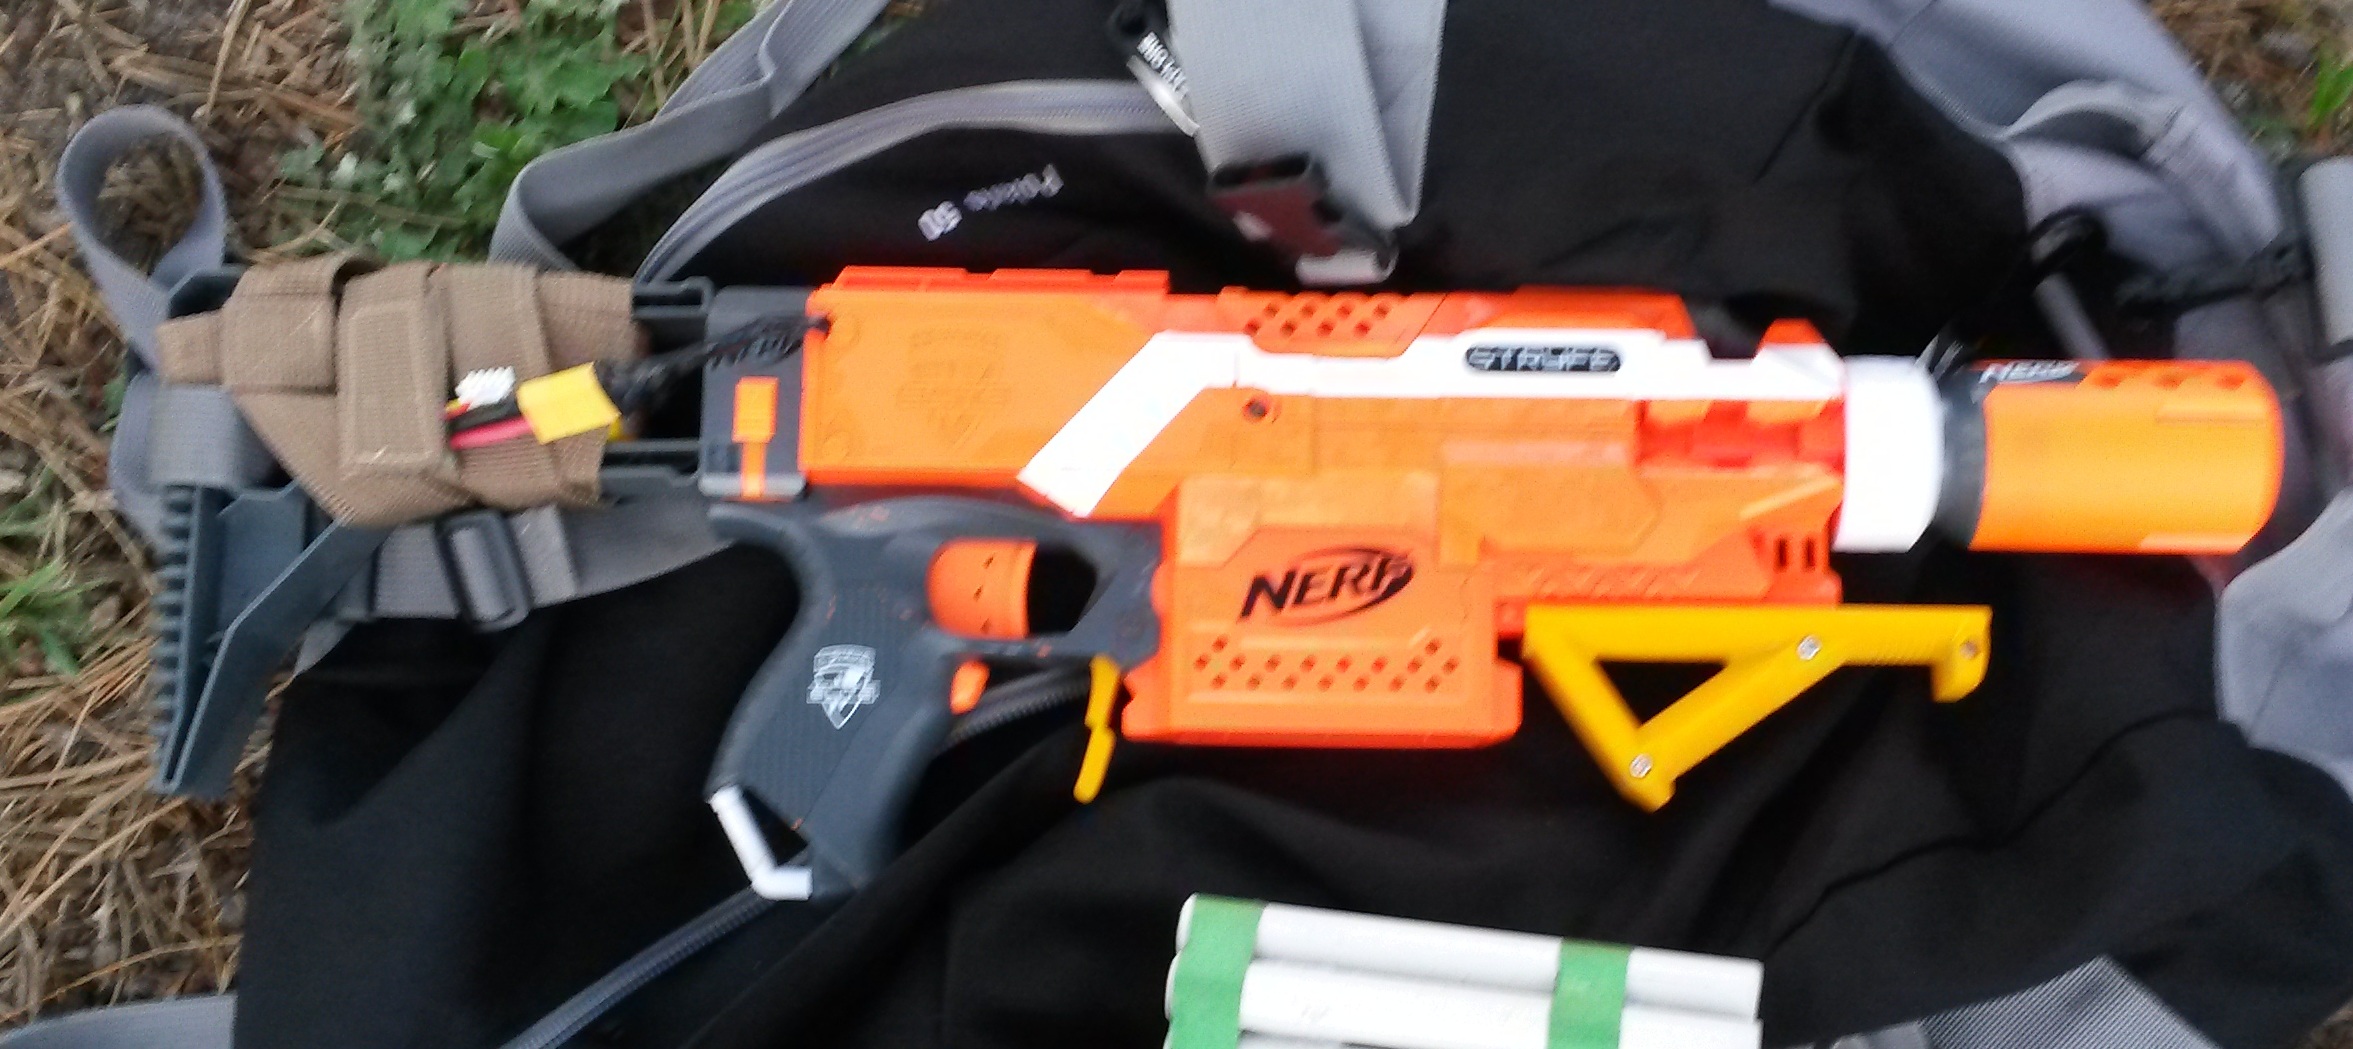
Elite Stryfe (various LiPos, motors) – typical all rounder flywheel. Slower firing than an RS, but is a little more forgiving with trigger discipline, and is generally a very good blaster. It is very rare to see a semi auto flywheeler that isn’t a Stryfe
New/Infrequent:
 Elite Rayven (“Banshee” motors, 2S LiPo) – I tried it out intending for it to be a backup for my Bullpup Rapidstrike. In its current form however, it is practically unusable. It’s extremely loud, quite inaccurate, a little janky and weaker than my Bullpup RS. I would have to make some significant alterations to make it usable.
N-Strike Rayven (MTB Rhino motors, 3S LiPo) – performed essentially like a similar spec Stryfe. Solid all round blaster, though likely slightly weaker than an equivalent Stryfe.
 N-Strike Switch Shot (C-836 spring, speedloader) – performed somewhat like the Longshots did, except in a much smaller package. Quite powerful and could match or beat the typical flywheelers for range, but naturally had an exceptionally slow ROF. Its user backed it up with a Stryfe for close quarters.
We used the first park this event, and used two different play areas. The first was the same area used in my only MNW event so far, and the second was the area we normally use.
 The first play area is fairly even with tree distribution, the main combat area has trees relatively evenly spread out. The central area with the majority of the trees is a little separated from either end of the play area, making for quite distinct offence/defence positioning.
 The second area is the same one I’ve described many times before, with two main lanes of trees between the sides of the play area. It can be quite difficult to change lanes given the significant distance between them, requiring good teamwork to secure a good overall position.
We had about 14 people for the entire event, which was a very good turnout. At no point did the play areas feel congested, nor did the games end up as stalemates due to volume of fire. Such a turnout could possibly present an issue with the second park, which is much narrower, but these play areas are wide enough to support this many players. I wouldn’t put many more players in these play areas though, I don’t think they have the width or cover for it.
Throughout the day we typically played best-of-3 sets. The first rounds we played were Kill Confirmed rounds. They went about as expected, relatively short, momentum based rounds. Using the first play area, it was extremely important for a team to establish a good position in the middle area. If they were unable to secure a position in the middle, they would either be left without cover or be forced back and have no maneuvering space. The team that established a better position in the middle would gain the advantage and momentum. That’s not to say that team is guaranteed victory of course, there’s almost always a significant component of luck in KC.
In the first round of KC, I got off to a quick start and was able to catch one player out of cover along the north side and eliminate him. However, I overextended myself and got cocky. I attempted to engage 3 more players, but I was out of cover and had no nearby teammates, so was downed in open space. My only nearby teammate was unable to fend off the enemy players and was outnumbered, so was overwhelmed and we were both eliminated. Luckily the rest of my team had made much better progress on the south side, and had eliminated a number of enemy players with minimal or no losses. My team now had superior numbers, and were able to easily eliminate the remaining enemy players. I was extremely lucky this round. My overconfidence had cost our team two players from a position I definitely should not have been in. Had the rest of my team not picked up the slack, they would have been at a one player disadvantage, which as I’ve described in previous game reports, is a big disadvantage.
In the second round of KC, I was able to establish a position along the north while the rest of the players engaged in the middle. This allowed me to fire down upon the enemy team from higher ground from the side while they were engaged with the rest of my team. I caught a few players out of cover or otherwise exposed, and with the rest of my team performing quite well, we eliminated the majority of enemy players quite quickly. Once most of the enemy players were eliminated, we simply had to chase down the last few survivors.
Positioning and early momentum were key in these KC rounds. In the first, I was able to get an early elimination and draw the attention of several enemy players. Although I was eliminated shortly after, my team had been able to eliminate the other half of the enemy team quite quickly. They caught the remainder of the enemy team quite spread out, and were able to eliminate the remaining players one by one fairly quickly. If the rest of my team hadn’t moved quickly to re-engage after securing the south side, the remaining enemy players would have had time to regroup, which would have substantially improved their chances.
In the second round, I was able to establish a good flanking position along the high ground. Not only did it force the enemy players to divide their attention and firepower, but it also made their cover situation very awkward. Since the trees weren’t large enough to cover them from two different directions, they were almost always exposed either to myself, or other members of my team. From there it was a simple matter of downing and eliminating the players in the middle, then cleaning up the survivors.
We played a round of VIP before breaking for lunch. As is typical for VIP, the early combat involved skirmishes in which players would try to down enemies, so as to figure out who the VIP was (or at least who the VIP wasn’t). Both teams typically try to avoid overextending, lest they make their own VIP vulnerable. There is often a back-and-forth of momentum as players get downed, respawn and get back in the fray, while trying to figure out who the enemy VIP is. In the mean time, players will often try to weed out the enemy medic, as they are a critical component of the team, especially once the VIP is down. The medic greatly reduces the time that a player spends out of the game, and also helps maintain offensive and defensive positions.
In the round that we played, there was a lot of combat in the middle to start with, and my team was able to gain an advantage. We were able to secure the middle and push the enemy team back. While establishing a forward position, a few of my teammates noticed one particular player who hadn’t been involved in major combat, in cover behind a somewhat out-of-the-way tree. While the majority of us held the forward position to occupy the bulk of the enemy team, a few of my teammates split off, and successfully engaged and downed the player, who turned out to be the VIP. From there, it was a simple matter of cleanup, while making sure to not let our own VIP become vulnerable.
The biggest factor was early momentum leading into a good position. We were able to obtain an early advantage in combat, which gave us the opportunity to push forward. In doing so, we cornered the VIP, putting him in an unfavourable position as well as helping to reveal his identity. If we hadn’t quickly established a forward position, we would have risked allowing the enemy team to regroup, which would have undone all our hard work and momentum from the start of the round. We would have had a much harder time identifying and locating the VIP, and our own VIP would have been more vulnerable. Once that forward position was established, it was a simple matter of holding off the enemy team while a few of our players eliminated the VIP.
After lunch, we moved to the second play area. We started off with a trio of Capture the Flag.
The first two rounds were extremely short. In the first round, I rushed up to near the enemy flag position and engaged their shield and one or two other players.With a lucky rocket shot, I took out their shield, and used that opening to steal the flag and run off with it. In the second round, I again rushed forward, however was unable to establish a solid forward position. I was hit and so ran off to respawn. By the time I got back into play, our flag had been stolen and was half way across the play area, captured shortly after.
In the first round, that flag steal was almost entirely through luck. Although I was able to get very close to the flag, I was pinned down by several players, particularly the shield, with no backup. The rocket I fired travelled way too high to hit the shield directly, however somehow dropped down and bopped the shield player on the behind. The shield player was by far the biggest threat, as I had no way of effectively suppressing him and he was entirely focused on me. While I might have been able to sneak past the other players, I would have been mowed down by the shield player if I moved into open space.
In the second round, my team lost through poor coordination. I felt like I was the only one on offence, being the only player on my team near the enemy flag. During my respawn run, there were several teammates floating around the area, apparently not with a dedicated role. One of my teammates commented about the lack of coordination in the team, not knowing who was on offence and who was on defence. As a result, our flag was left lightly defended, making it very easy for the enemy team to break through and steal the flag. A better coordinated team would have provided for a better organised defence, which could have prevented the flag steal.
The final round of CTF that we played was by far the longest. Early in the round, I executed my typical flag rush tactic, however was unable to break through their defences (which included their shield), and was forced to respawn several times. I linked up with our shield and another teammate to make a push from the middle. Thanks to the cover of the shield, the firepower of the extra player and my role as a medic, we were able to slowly but effectively push forward. We were able to push their shield back and take down all other defenders, allowing one of my teammates to steal the flag and run off with it, capturing it shortly after.
This round in particular demonstrated the power of the shield and the medic. After losing my first few engagements and not being able to establish a forward position, I worked together with our shield. Despite coming under pretty heavy fire, the permanence and mobility of the shield cover allowed us to push forward slowly. It offered much wider cover than most trees, and could be angled as necessary. Despite being quite far forward, and being within range of most enemies, good shield placement and angling combined with a nearby tree offered me relative safety. As a medic, I was able to help our team maintain offensive pressure. Instead of having to wait for a downed teammate to respawn, I could simply run to them and revive them. This allowed us to maintain our forward position much more easily, which prevented the enemy defenders from pushing forward. Additionally, working together with the shield allowed for practically guaranteed revives as the time it takes for a revive is far less than necessary to effectively combat a shield. I was able to easily revive teammates downed in otherwise open area because of the shield giving me cover.
We ended the day with a few rounds of Kill Confirmed in the second area. These games seemed to last longer than most of the others, and involved more prolonged, intense combat than some of the other rounds. In the first round, I engaged several enemy players in the middle line of trees. A number of enemy players moved to flank from both sides, and both teams suffered significant casualties. Throughout most of the round, I was focused on the 3 players directly ahead of me, and without realising it, became the only surviving player on my team. I was able to down the one remaining flanking enemy player (who presumably had eliminated the rest of my teammates), although it’s also possible that he was downed by friendly fire. I was able to down 2 of the players directly ahead of me, and moved up to engage the last one. In a back-and-forth between two trees, I was able to down the last enemy player.
In the second round, I made a move for the northernmost cover in the area. There was only one enemy player in the near vicinity, who I was able to down. While the majority of my team engaged the enemy team in the middle of the play area, I could fire on them from the side, and I was able to catch several players out of cover. After eliminating another nearby enemy player, I was able to get behind the remaining enemy players and easily down the rest of them.
I was extremely luck to survive that first round. At the end of the round, the enemy team had one flanking player and three I were directly engaged with, and I was left alone. By all accounts, that flanking player should have had an easy shot at me, however through whatever transpired in that round, he was downed before he could take the shot. There also may have been teammates I could have revived, which would have made my life much easier. I was also lucky in that of the three remaining enemy players, I only had to engage at most 2 at a time, as we were all in the same tree line. If they had split up to flank me, I would likely have been in even more trouble. That was just a lucky round for me in general.
The second round was won quickly through my flanking. Although my team was successful in downing several players, I personally eliminated 4 players. The first two I eliminated were 1v1s, however the other two I downed from behind, and went completely unnoticed until they had been hit. Executed well, flanking is an extremely powerful tactic and can overcome enemies having superior numbers and firepower. Executed poorly, it weakens the flanking team significantly and makes them more vulnerable. Regardless, you should never let enemy players get behind your field of view, as it leaves you pretty much totally defenseless.
In KC especially, you should also never travel alone unless you are confident that your team can win even if you are eliminated. In my case, I was reasonably confident that my team would be able to take advantage of my distraction even if I was eliminated quickly. They had proven themselves quite effective in previous rounds, and I believe they would still have seen significant success without my presence.
Overall I quite enjoyed this event. There was a decent amount of variety, and a good player count that made for some fun and competitive games. I would be happy to see similar player counts in future events, perhaps even more if a bit more cover can be set up. I would like to see a bit more diversity in the blasters used, but that’s hardly up to me to control.
You can find the same Nerf Game Report on my own blog: Outback Nerf